TrueNAS SCALETrueCommand Documentation Archive
This content follows TrueCommand 2.3 releases. Archival documentation is provided for reference only and not actively maintained.
Use the Product and Version selectors above to view content specific to different TrueNAS software or major versions.

Installing TrueCommand Cloud

TrueCommand is versatile and offers several different install options. TrueCommand Cloud is the preferred method for using TrueCommand since it requires no local resources or specific hardware requirements to get started!

Please note that a credit card number is required for Cloud Signups.

If you’re purchasing TrueNAS Enterprise hardware or licenses, you might be eligible to receive an additional TrueCommand license that lasts the duration of the TrueNAS Enterprise contract. Contact iXsystems Customer Support for more details about adding TrueCommand to your TrueNAS Enterprise purchase.

Getting Started with Cloud Deployment

TrueCommand Cloud is a SaaS offering of TrueCommand with a WireGuard VPN capability to connect TrueNAS systems through firewalls. TrueCommand Cloud is compatible with TrueNAS version 12.0 and newer.

Register an iXsystems Account

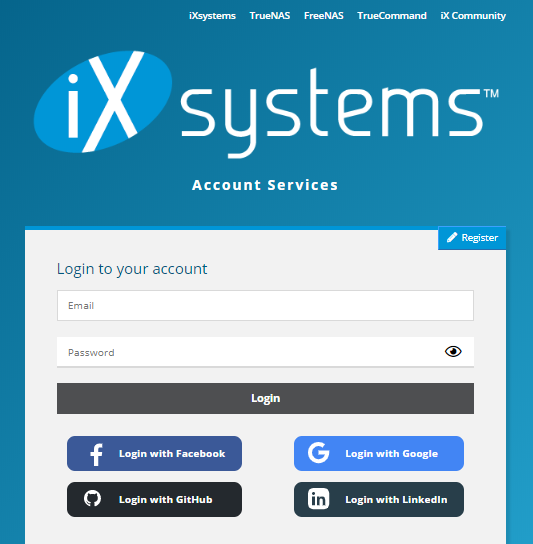
Open https://portal.ixsystems.com and click Register.

PortalLogin

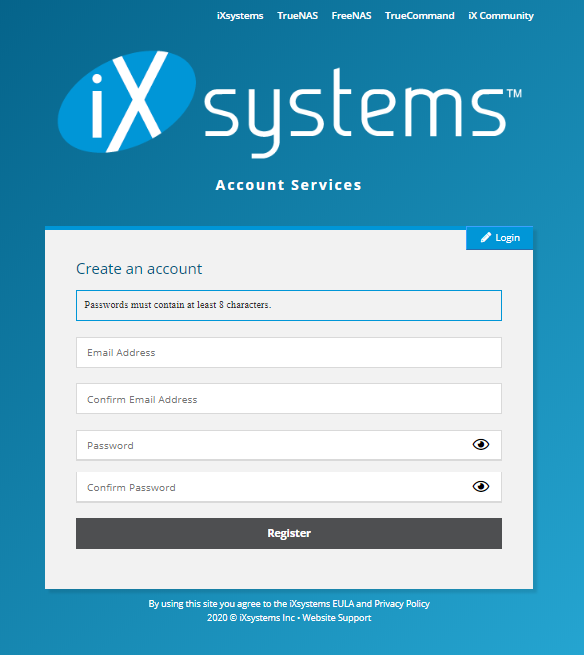
Fill out the form using the email address you want to use.

PortalAccountCreate

Check the address spam folder if the email does not arrive within a few minutes. If the email is in the spam folder, mark it as not spam and add the account to the address book. After receiving the verification email, open the link provided to verify the account.

Create a New Subscription

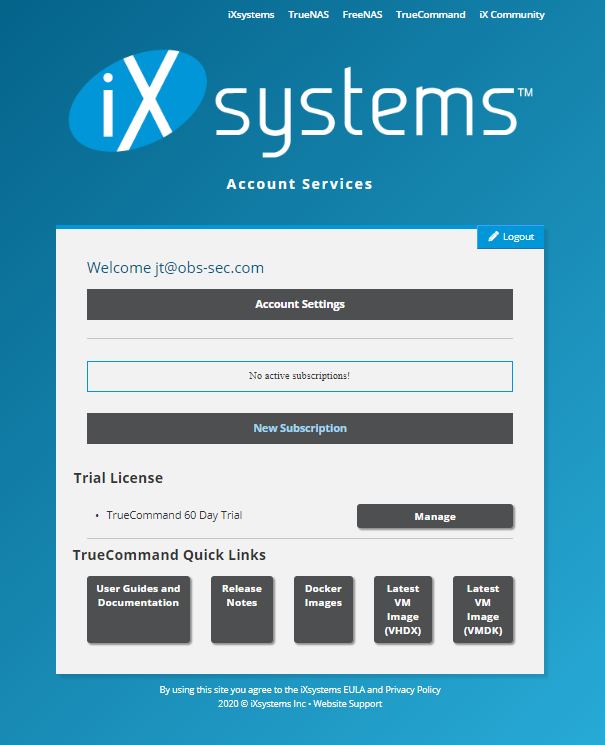
Log in to the verified account and click New Subscription.

PortalDashboard

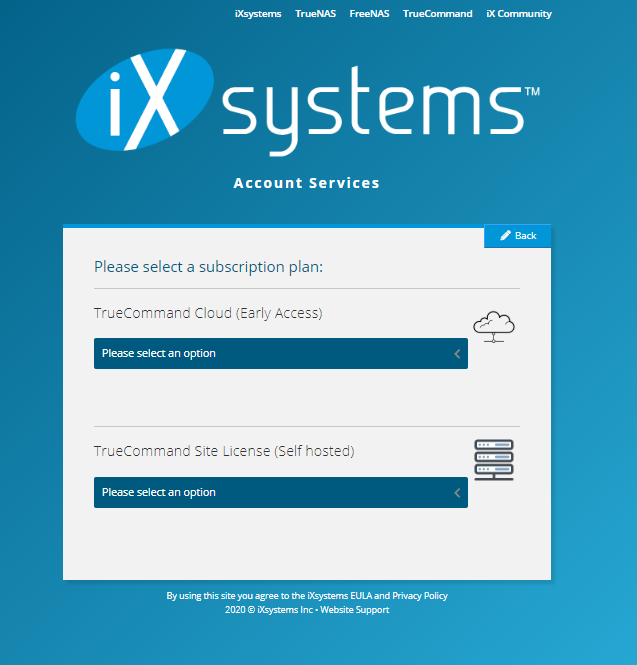
PortalCloudSubscription

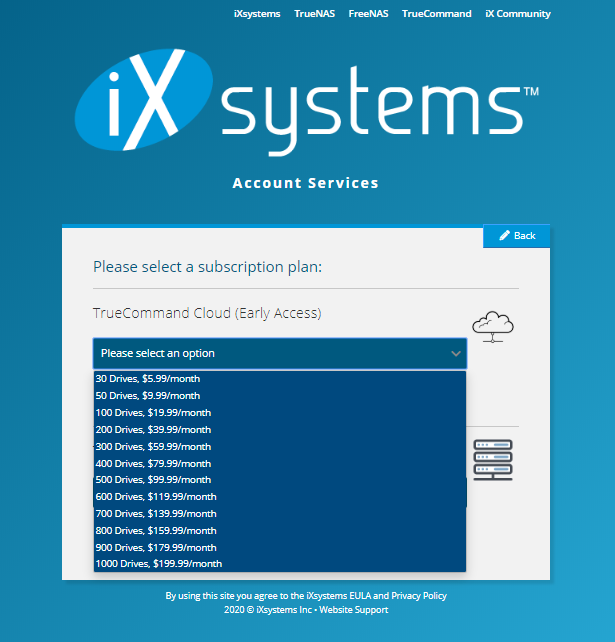
Select the TrueCommand Cloud option and choose the subscription plan that best fits your current needs.

PortalCloudSubscriptionOptions

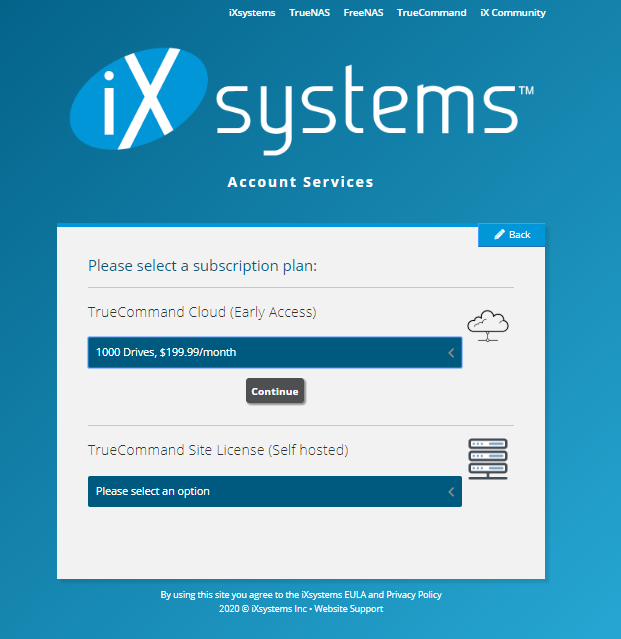
Click Continue to proceed.

PortalCloudSubscriptionSelected

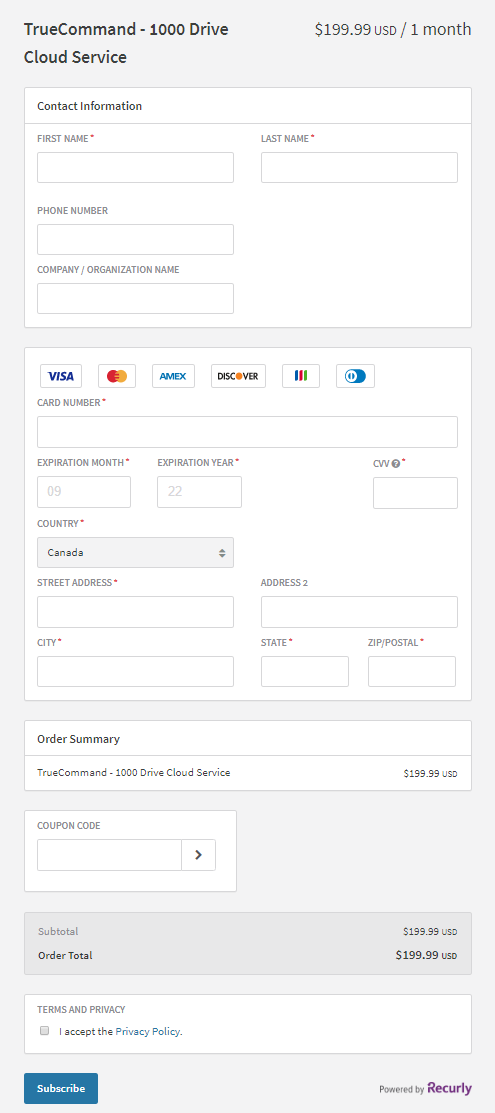
Next, fill out the payment form.

CloudSubscriptionPayment

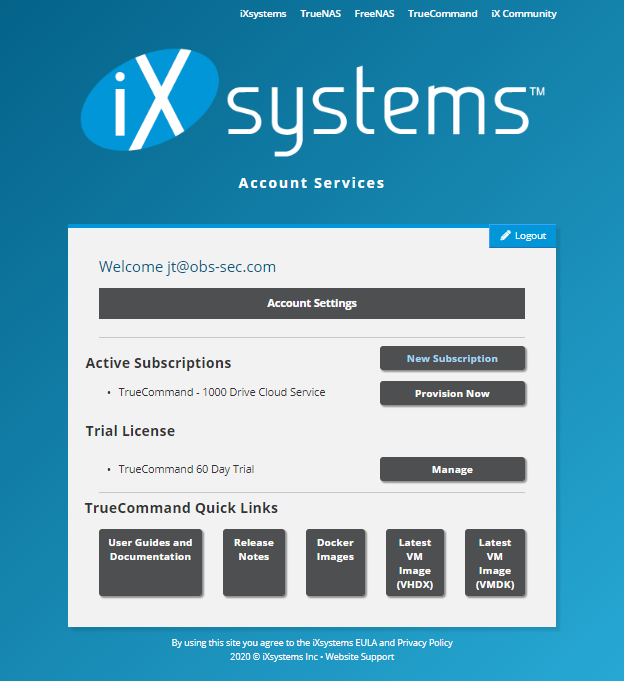
Click Subscribe and wait until the form is accepted. The Account Services window confirms that you have an active TrueNAS Cloud account with an active subscription.

Provision the Active Subscription

Click the Provision Now button located to the right of the Active Subscription listing.

PortalDashboardActiveSubscription

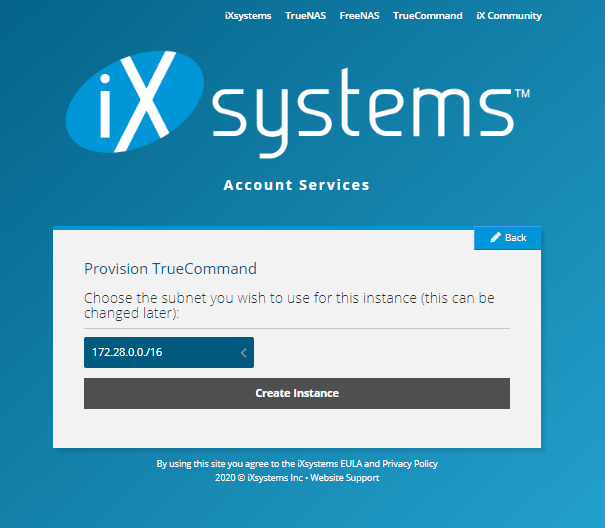
Select a subnet that your network is not using from the Subnet dropdown list.

TrueCommandProvisionSubnet

Click Create Instance. This returns you to the Account Services screen.

The next step is to add a client and create a WireGuard Config file.

Adding a Client and WireGuard in TrueCommand Cloud

From the account home page, click Manage.

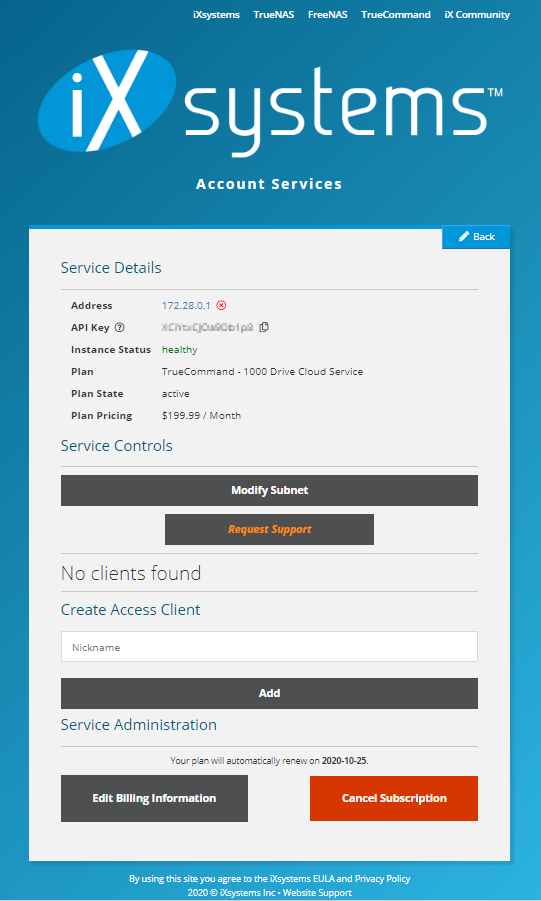
To obtain a TrueCommand WireGuard config file you need to add a client.

Under Create Access Client provide a nickname and click the Add button.

CloudSubscriptionServiceDetails

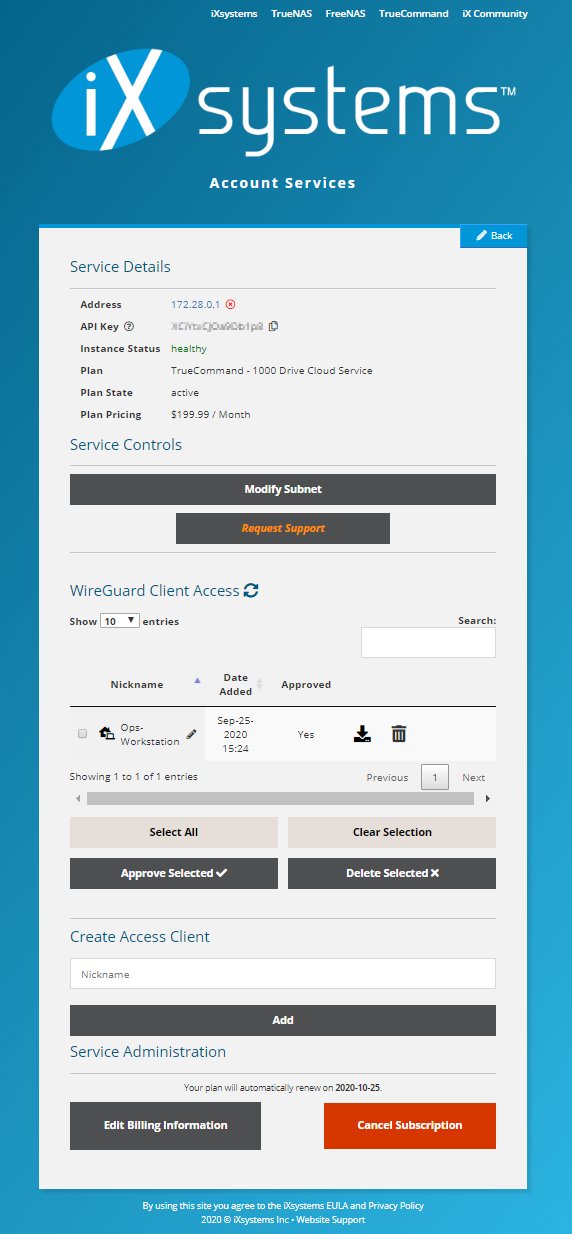
After adding the client, click to download the configuration file.

CloudSubscriptionServiceDetailsWireGuardClient

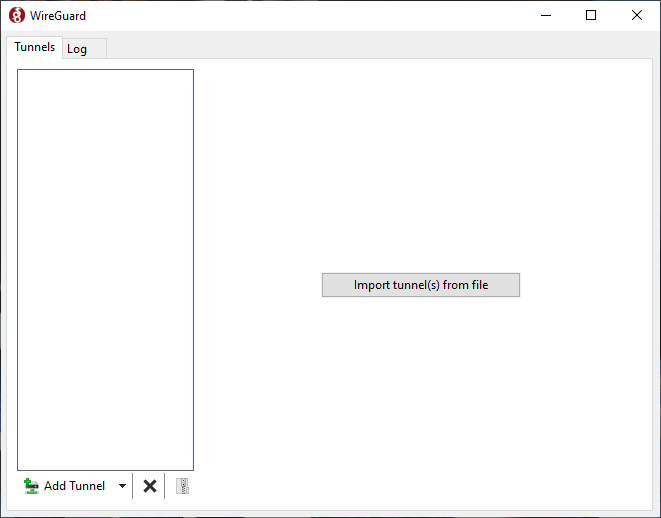
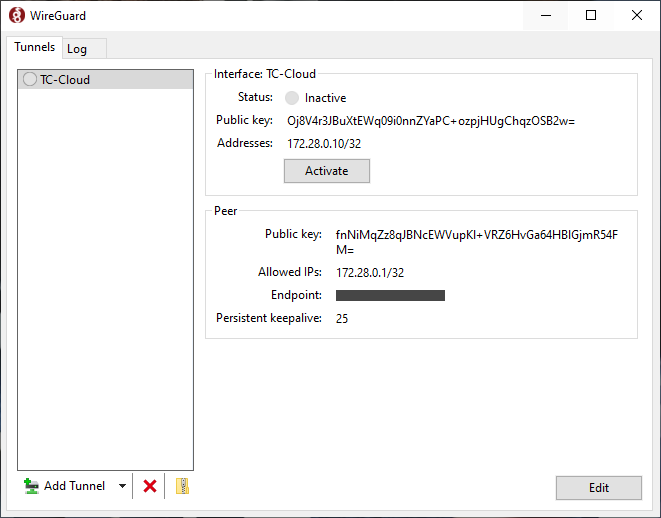
Open Wireguard on your system and click Add Tunnel.

WireGuardTunnels

Select the TrueCommand WireGuard configuration file you downloaded.

WireGuardTCCloudInactive

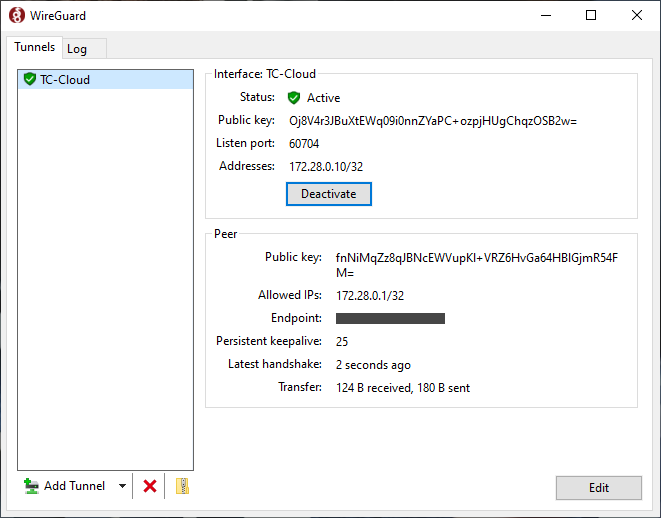
Click Activate to initialize the Wireguard tunnel.

WireGuardTCCloudActivate

See the WireGuard home page for more information on WireGuard and WireGuard clients.

The TrueCommand Cloud IP address is on the iXsystems account portal.

When WireGuard is active, log in to the TrueCommand Cloud interface by clicking the TrueCommand IP address on the portal, or manually enter the TrueCommand Cloud IP in a browser.

The next step is to add systems to your configuration.

Connect Systems to the TrueCommand Cloud Instance

Log into your iXsystems cloud account and click Manage next to your TrueCommand subscription.

Under Service Details, copy the TrueCommand API Key.

CloudSubscriptionServiceDetailsWireGuardClient

Log into a TrueNAS system and click the TrueCommand icon in the upper right.

SystemsAddFirstSystemTCButton

Paste the TrueCommand API key copied from the iXsystems Account Portal into the TrueNAS dialog window.

TrueCommandCloudConnectAPIKey

Approving the Connection Request

When the True Command logo starts moving, check the TrueCommand Cloud email address for a verification message. The email contains a link to the portal to confirm the connection and activate the TrueNAS system.

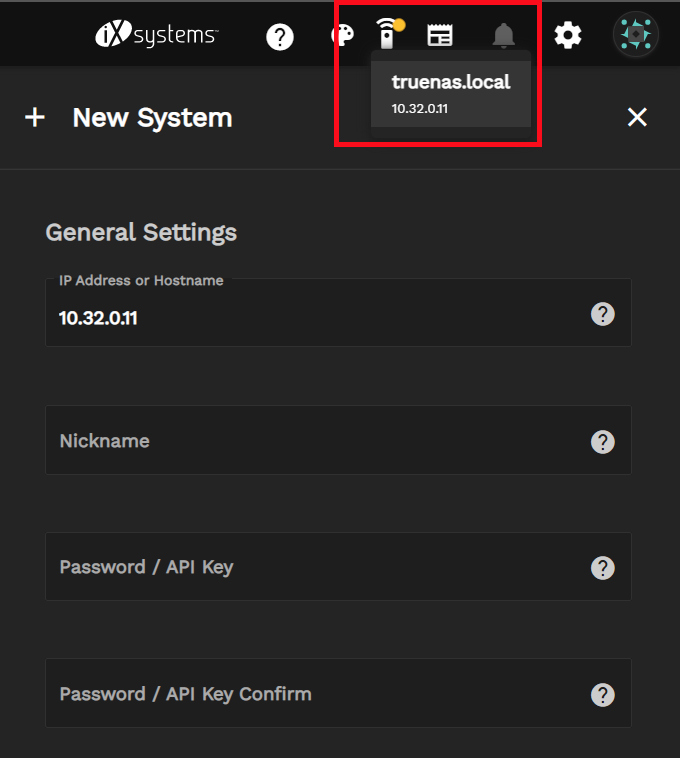
Click the Discovered Systems icon and select the TrueNAS system. TrueCommand automatically fills out the IP field using the WireGuard address. Fill in the TrueNAS system nickname and password information from the TrueNAS system, then click Add System.

NewSystemCreds

The TrueNAS instance can take 10 to 15 minutes to fully sync up with TrueCommand Cloud.

For more information on connecting TrueNAS systems to TrueCommand Cloud, see Connecting Your First TrueNAS System.

When all systems are connected to TrueCommand Cloud, refer to the TrueCommand Administration articles for more instructions about setting up configuration backups, alerts, reports, and role-based access control.

Adding Browser Exceptions

TrueCommand uses a self signed certificate for a secure connection. Because of this, many Internet browsers consider the IP address or DNS host name untrustworthy. In these cases, you must add the IP address or DNS host name as an exception to the browser to access the web interface. Adding an exception is shown here for two different browsers, but the procedure is similar for most browsers.

After the initial login, prevent this in future logins by adding your own certificate keypair and / or certificate authority (CA).

Browser Security Exceptions

Click Advanced to view information about the error code. Click Proceed to hostname (unsafe).

ChromeWarning

Click Advanced to view information about the error code.

FirefoxWarning

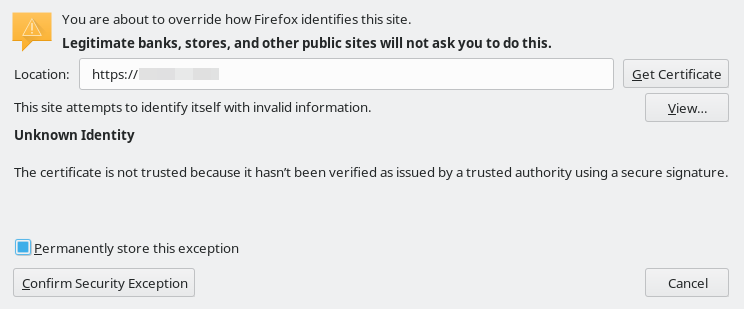
Click Add Exception. Set Permanently store this exception to permanently store the IP address or DNS host name in Firefox. Click Confirm Security Exception.

FirefoxExceptionAdd

Create the Administrator Account in TrueCommand Cloud

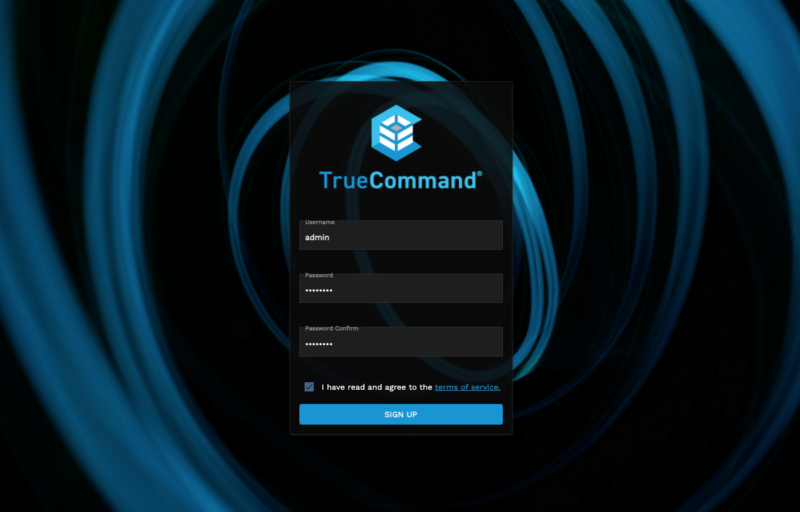
When accessing the interface for the first time, you need to create an admin account.

TrueCommand Admin Creation

Enter a username and password. Read the Terms of Service, select I have read and agree to the terms of service, and click SIGN UP.

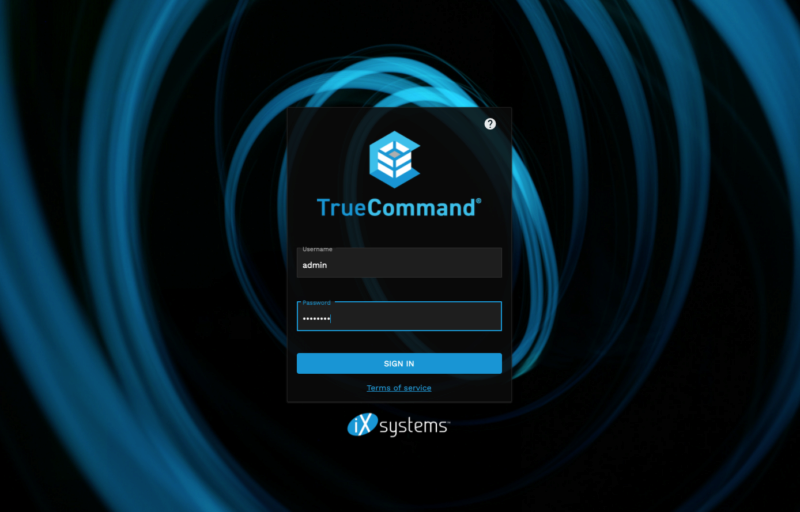
TrueCommand creates the admin login credentials and displays the login page.

TrueCommand Admin Sign In

You can now log in to the TrueCommand web interface with the new administrator account credentials.

Resetting a User Password on the Login Screen

TrueCommand users can reset their passwords from the login screen. After typing their username click the FORGOT PASSWORD button.

TrueCommandUserLogin

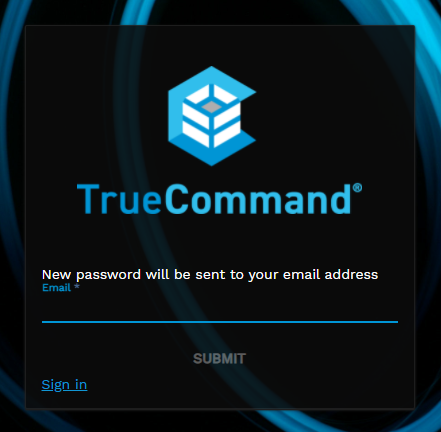
Enter the user email address (or where you want to send the reset login code).

TrueCommandSendResetPasswordEmail

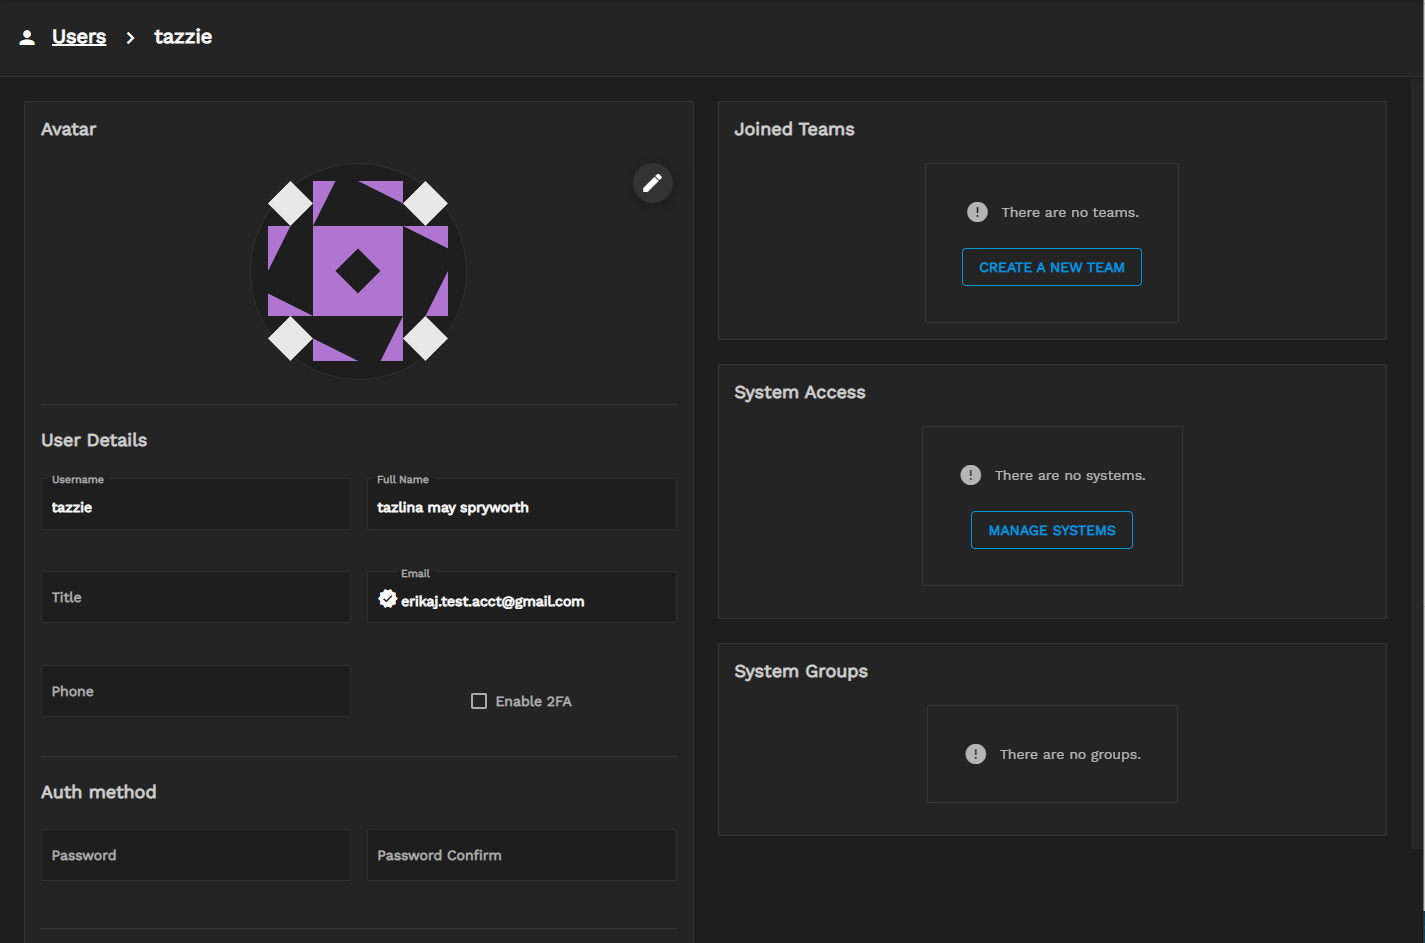
An [AUTH] TrueCommand Password Reset email should arrive with the reset password login code. After receiving the code, enter the user name in the login screen and the reset password code and click SIGN IN. The user can then go to their profile to change their password.

TrueCommandUserResetPassword

Related Content