TrueCommand Documentation Archive
This content follows TrueCommand 2.3 releases. Archival documentation is provided for reference only and not actively maintained.
Use the Product and Version selectors above to view content specific to different TrueNAS software or major versions.
Clusters Screen
7 minute read.
Last Modified 2024-03-19 09:09 EDTTrueCommand 2.3 (and later), in conjunction with TrueNAS SCALE 22.12.0 (and later), can create and manage clusters, cluster volumes, and cluster volume shares.
This article describes the various screens used for clustering. If you want to create and integrate clusters, see Clustering and Sharing SCALE Volumes with TrueCommand.
Clusters are an experimental feature in TrueCommand. Before using such features, please back up all your data. Do not rely on this for critical data.
The Clusters screen contains all options related to the cluster feature. To see this screen, log in to TrueCommand and click the Clusters icon in the upper left.
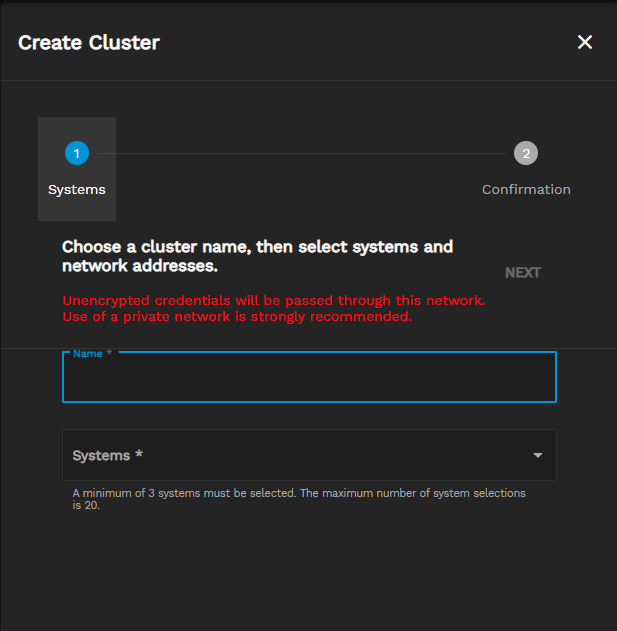
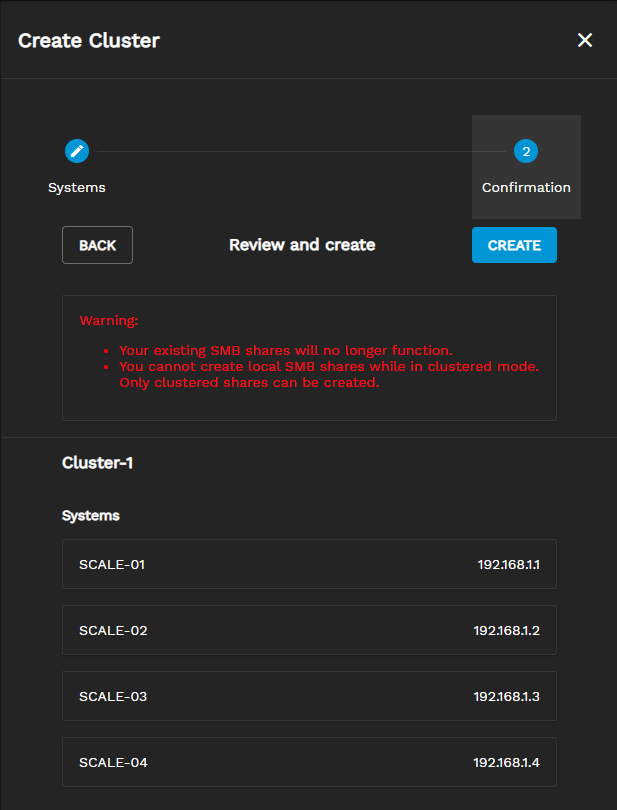
The cluster creation options split into two pages: Systems and Confirmation.
The initial form has two fields:
Making selections in the Systems field adds more options.
There is a single option on this page.
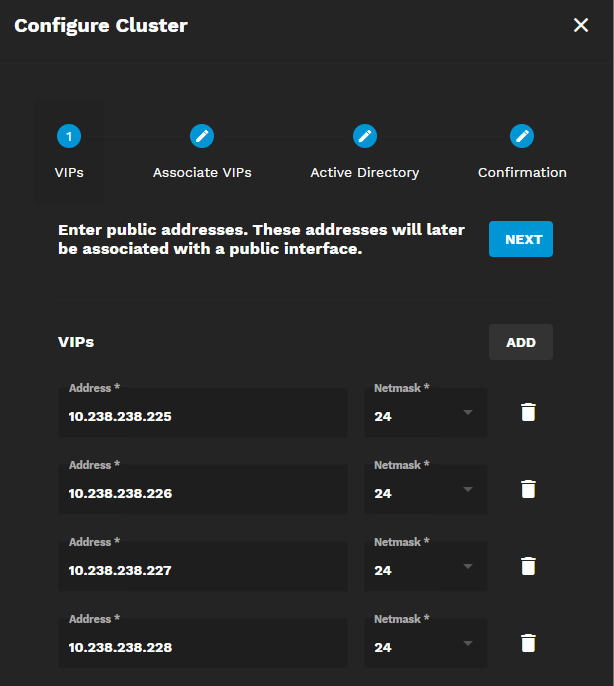
Successfully creating a cluster adds a cluster widget to the Clusters screen and opens options to configure the new cluster. These options are split into four screens: VIPs, Associate VIPs, Active Directory, and Confirmation.
The VIPs page has options and fields added for each SCALE system in the cluster.
| Setting | Description |
|---|---|
| ADD | Adds another line under VIPs for IPs and netmasks. |
| Address | Virtual IP address for one of the cluster systems. |
| Netmask | Netmask for the IP address. |
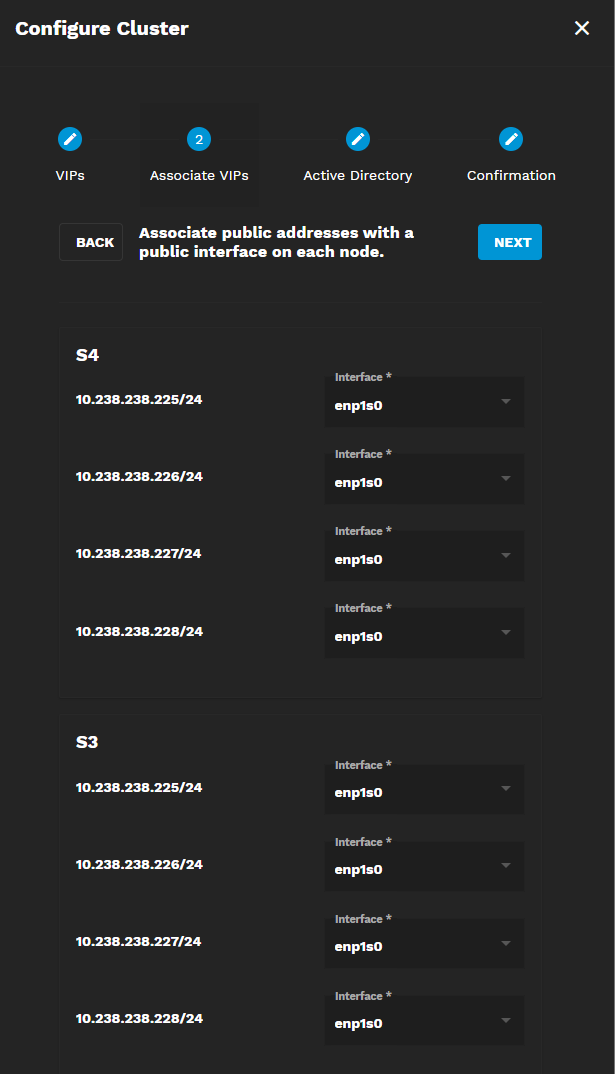
The Associate VIPs page allows you to select interfaces to assign to the VIPs.
| Setting | Description |
|---|---|
| Interface | Select an interface from the dropdown list of interface options and assign it to the VIP. |
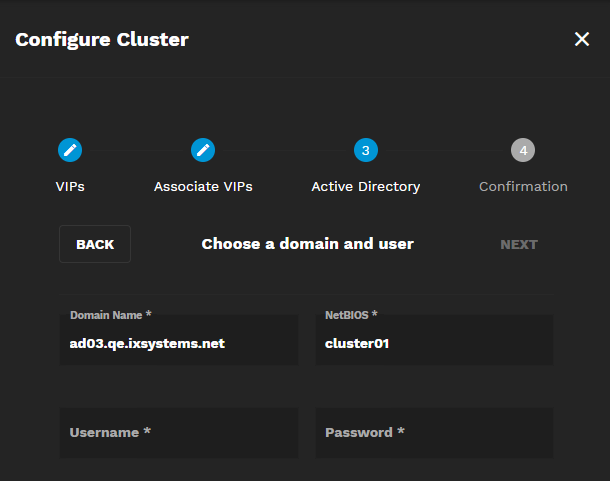
The options on this page let you establish a connection between an Active Directory environment, SCALE systems, and TrueCommand.
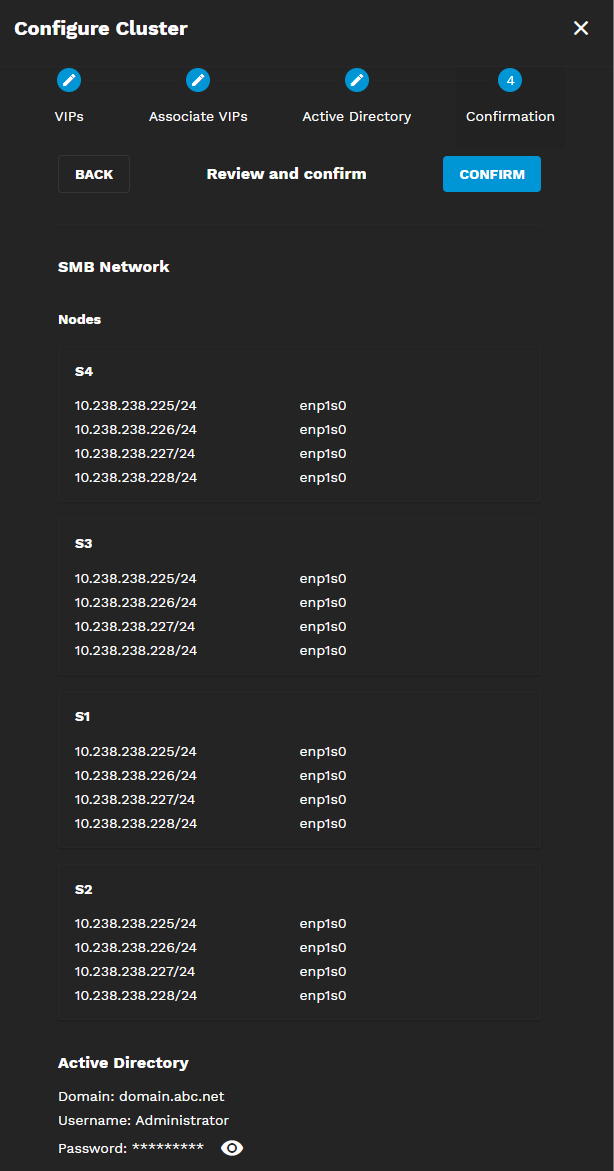
All chosen settings display here for you to confirm before being applied to the cluster.
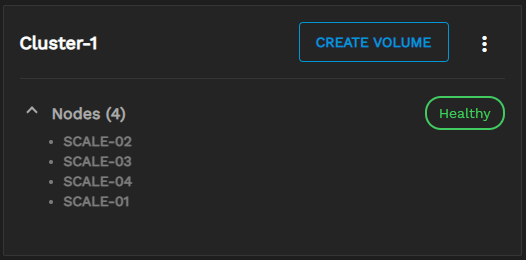
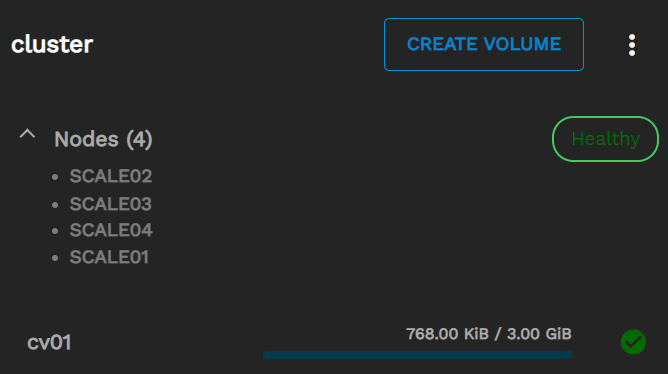
Clusters display as standalone cards.
The card displays the name of the cluster, the current state, and the names of the systems used in the cluster (Nodes). Click the more_vert Options icon to see management options for the cluster. Click the ^ or v icons to minimize or expand (respectively) the list of nodes.
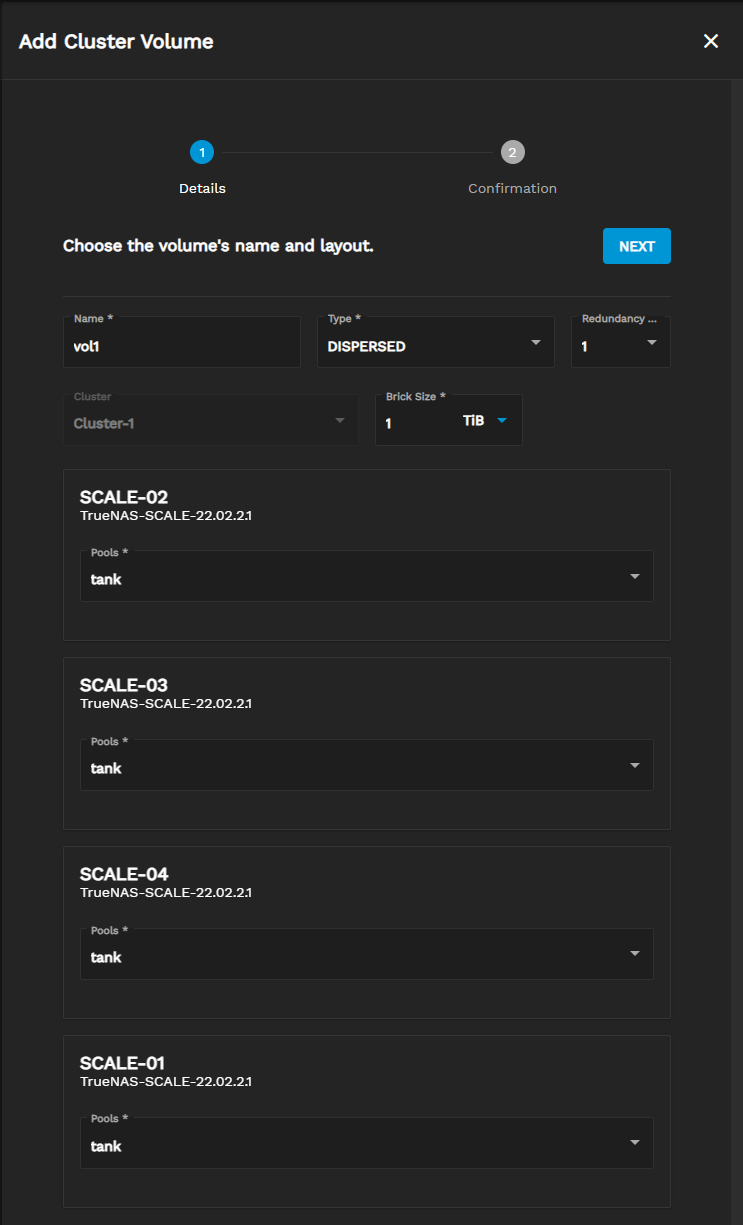
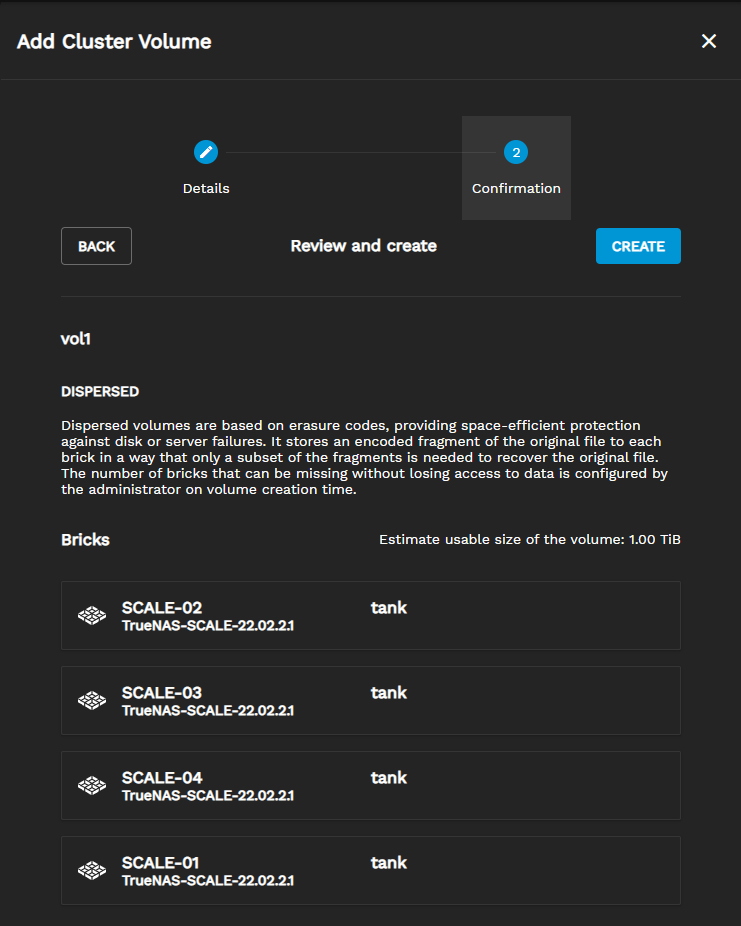
Clicking CREATE VOLUME for an existing cluster shows options to configure new clustered storage. The options split into two pages: Details and Confirmation.
The Confirmation page shows details for the chosen volume Type and storage makeup of the new clustered volume.
Created cluster volumes display in the related cluster card.
The card displays the name, used storage, and volume status. Click the volume name to expand the details and see more management options.
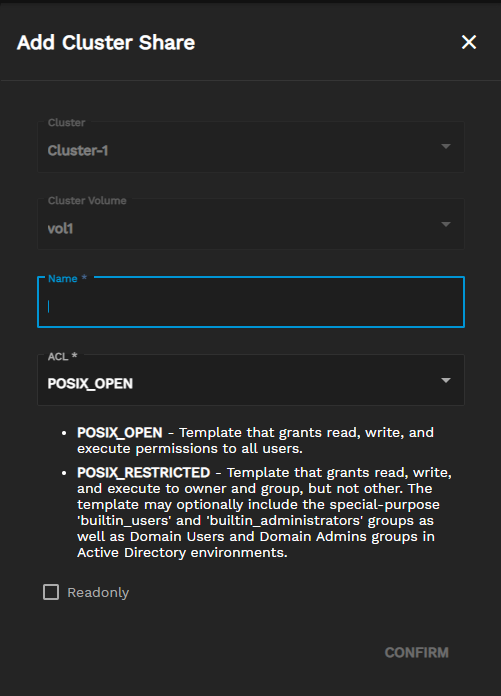
Adding a cluster share shows a few options.
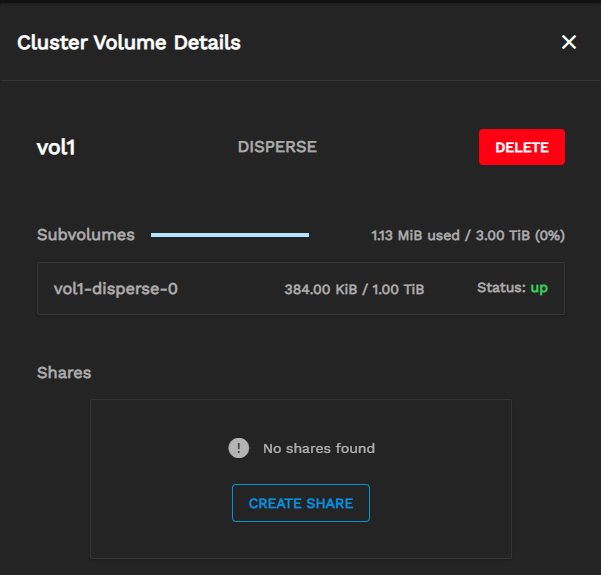
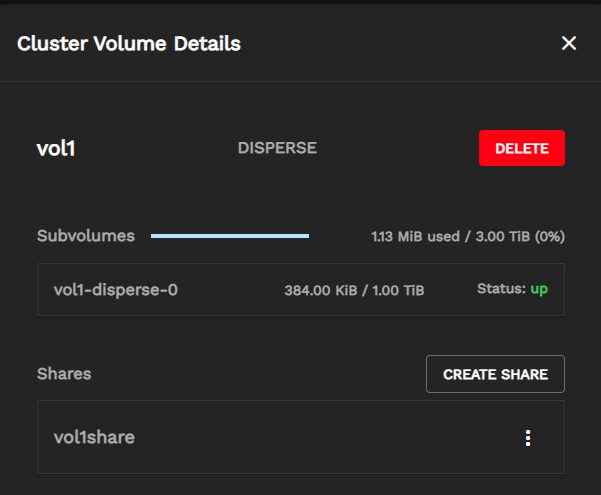
Click the cluster volume name to open the Cluster Volume Details and see any shares.


