TrueCommand Documentation Archive
This content follows TrueCommand 2.3 releases. Archival documentation is provided for reference only and not actively maintained.
Use the Product and Version selectors above to view content specific to different TrueNAS software or major versions.
NAS Users and Groups
2 minute read.
Last Modified 2023-09-01 13:04 EDTTrueCommand lets you create NAS users and groups across multiple systems.

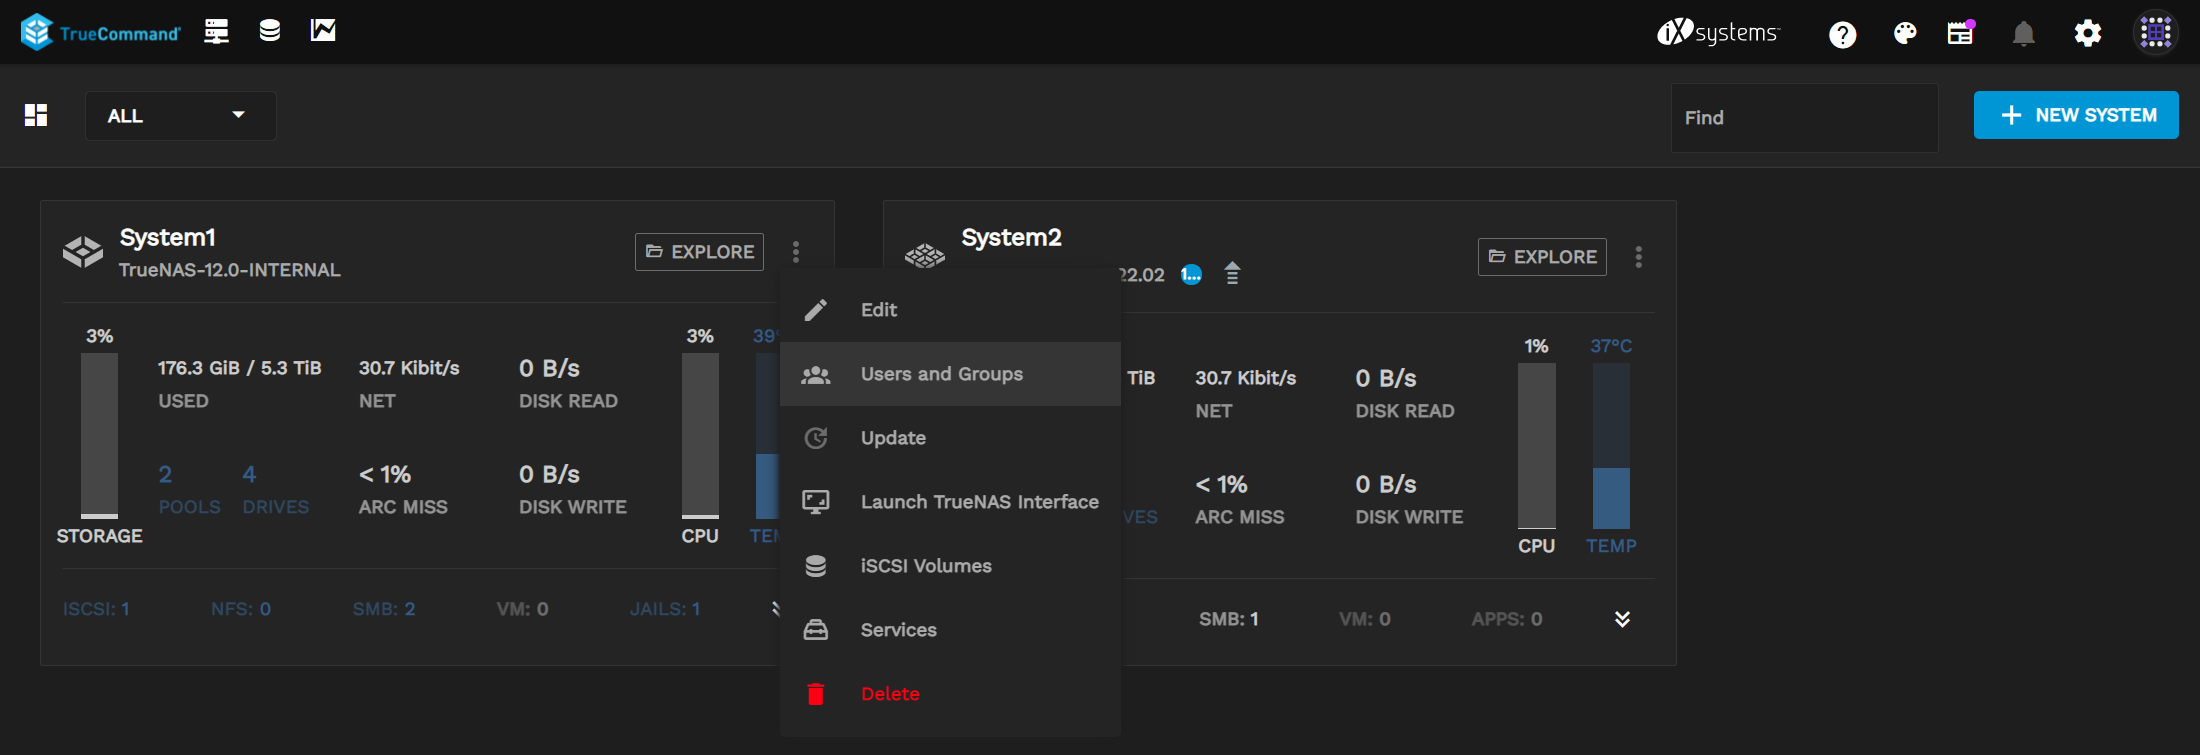
To add a NAS user to one or more systems, go to the dashboard and click the more_vert in a system window, then select Users and Groups.

Click + User to open the user creation wizard.

You can add users to one or several TrueNAS systems. Click + Add System and select one or more systems, then click NEXT. Users and groups created across multiple systems will share IDs.

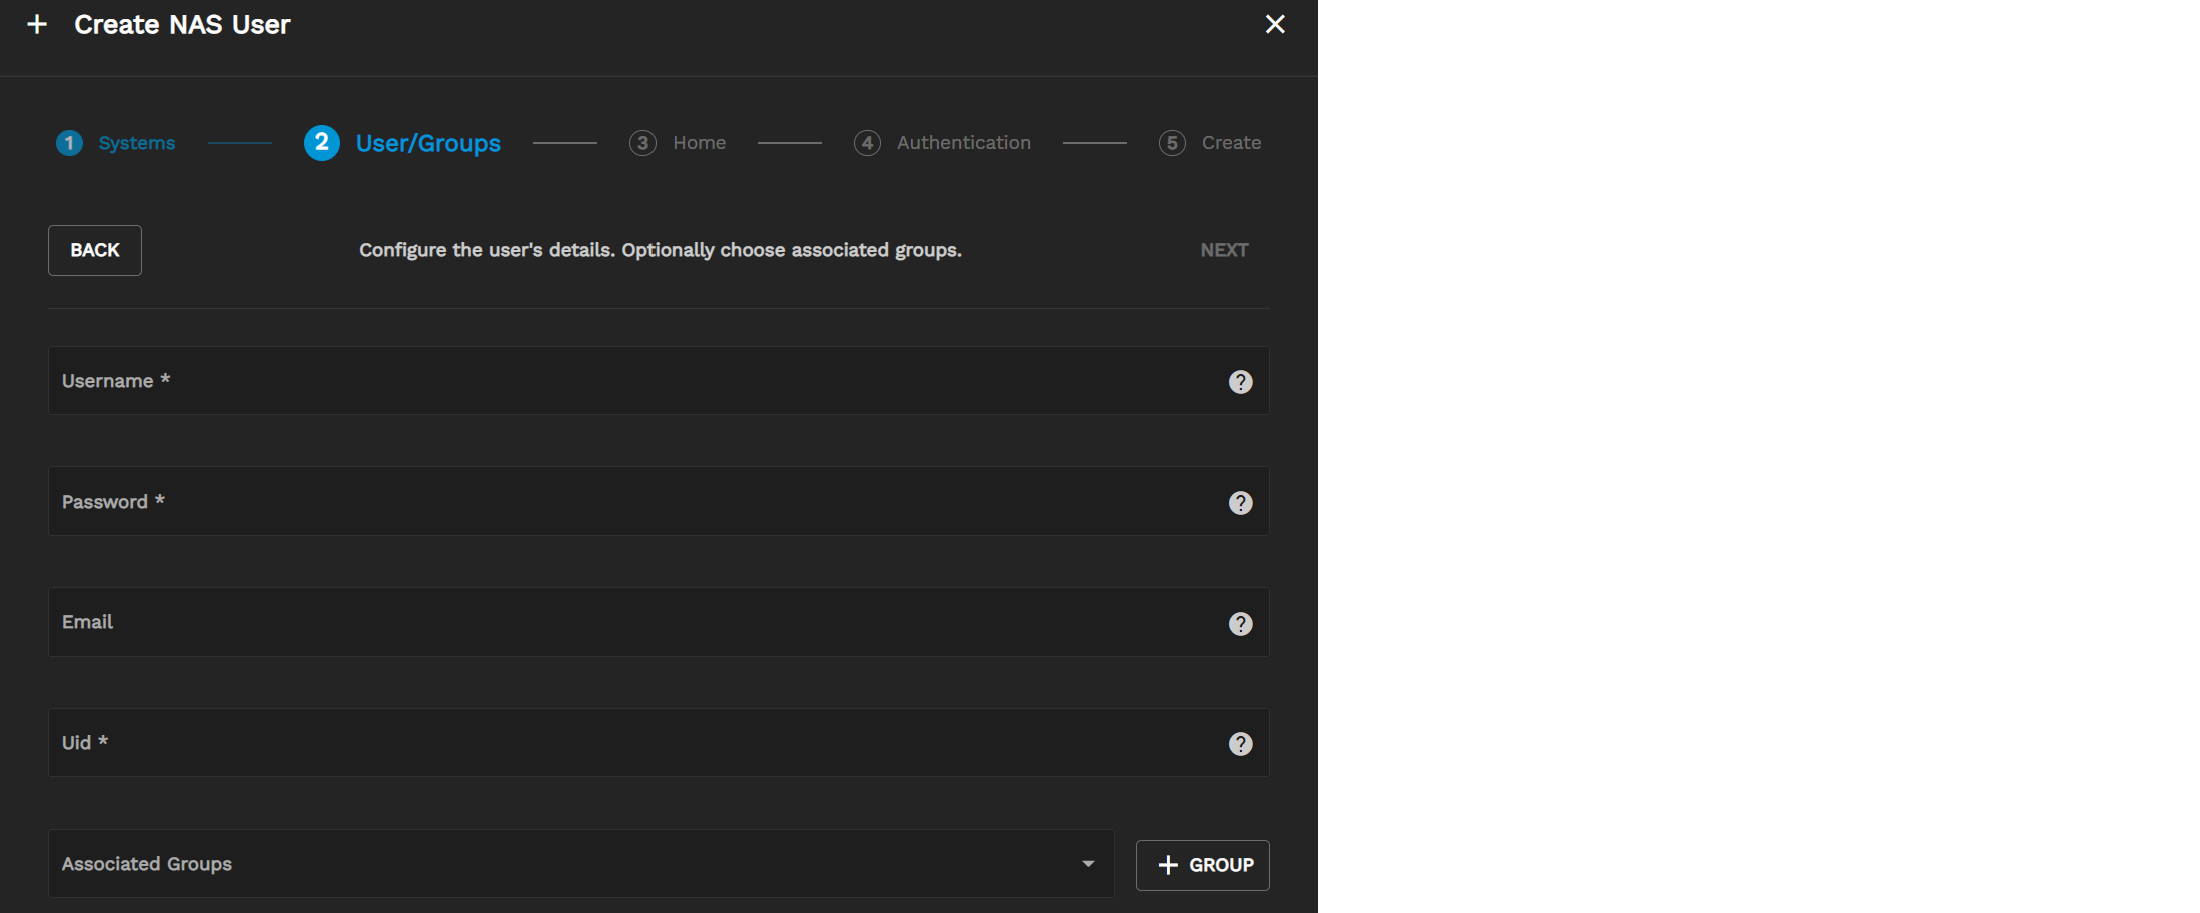
Enter a Username, Password, Email (optional), and Uid (user ID). You can also associate the user with existing groups or create new ones using the + GROUP button (optional).
Once you are finished, click NEXT.

If you want the user to have a home directory, enter the path to the directory and set the default UNIX permissions, then click NEXT.

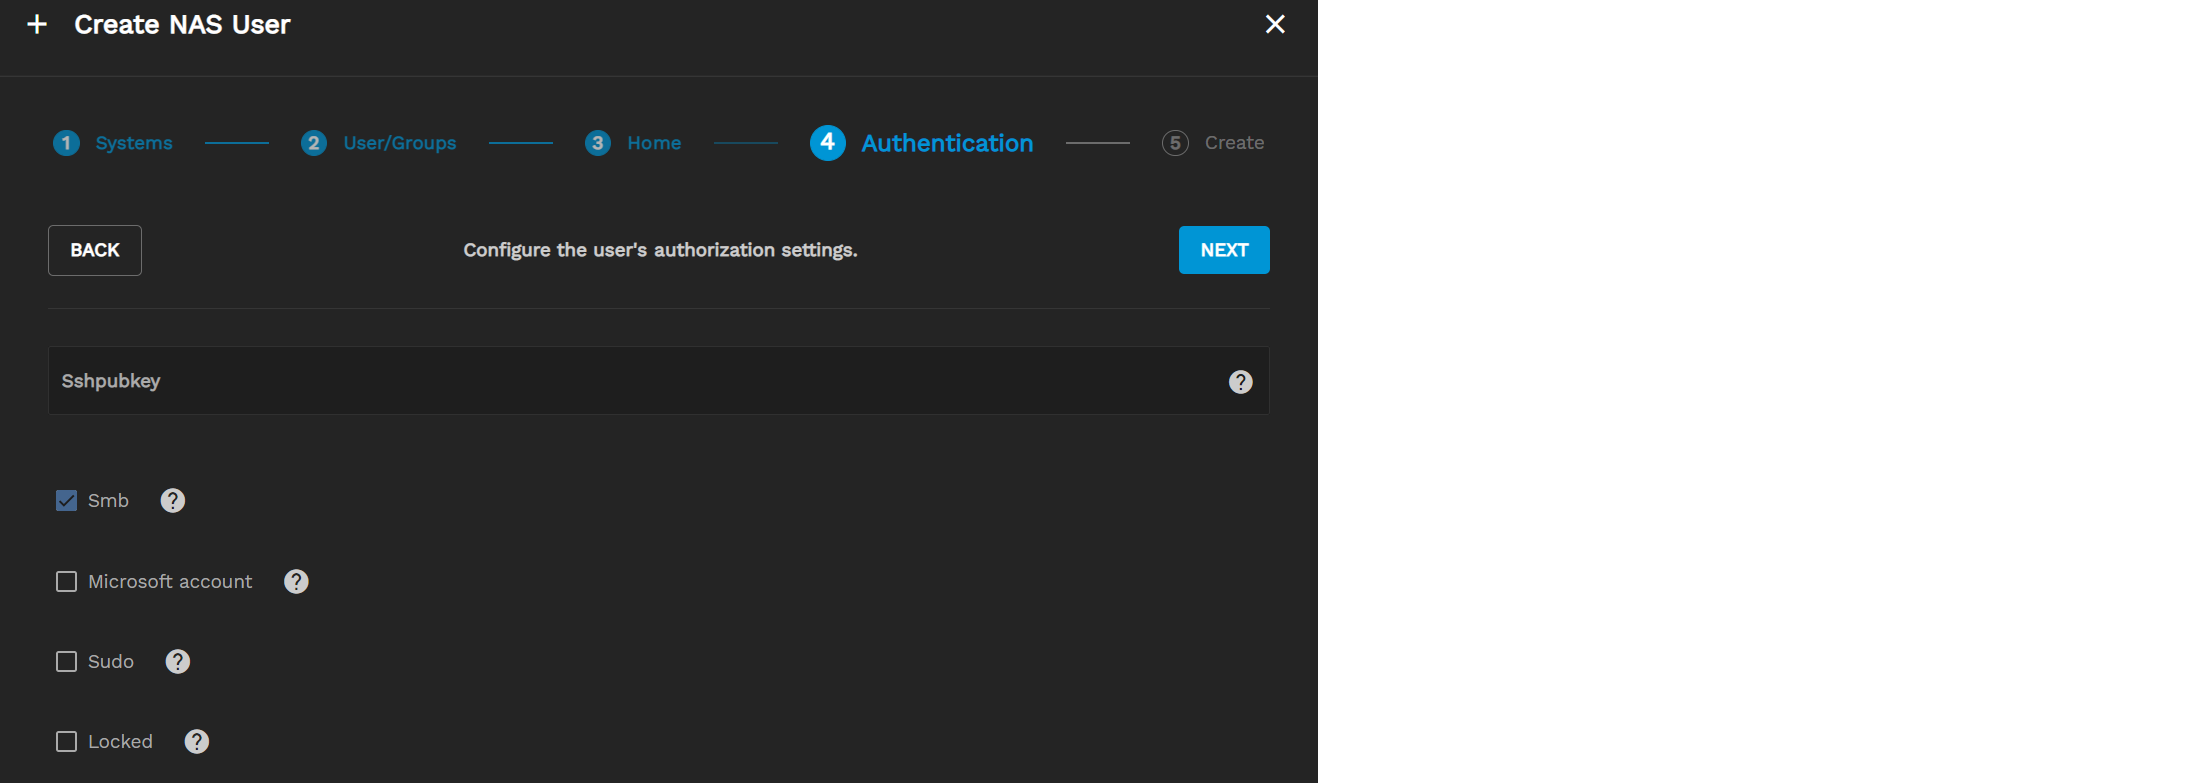
You can enter or paste the user public SSH key in the Sshpubkey field.
You can also allow users to authenticate with Samba, connect from a Windows machine with their Microsoft account, and use sudo commands.
Check Locked to prevent users from logging in or using password-based services.
After configuring the user authorization settings, click NEXT.

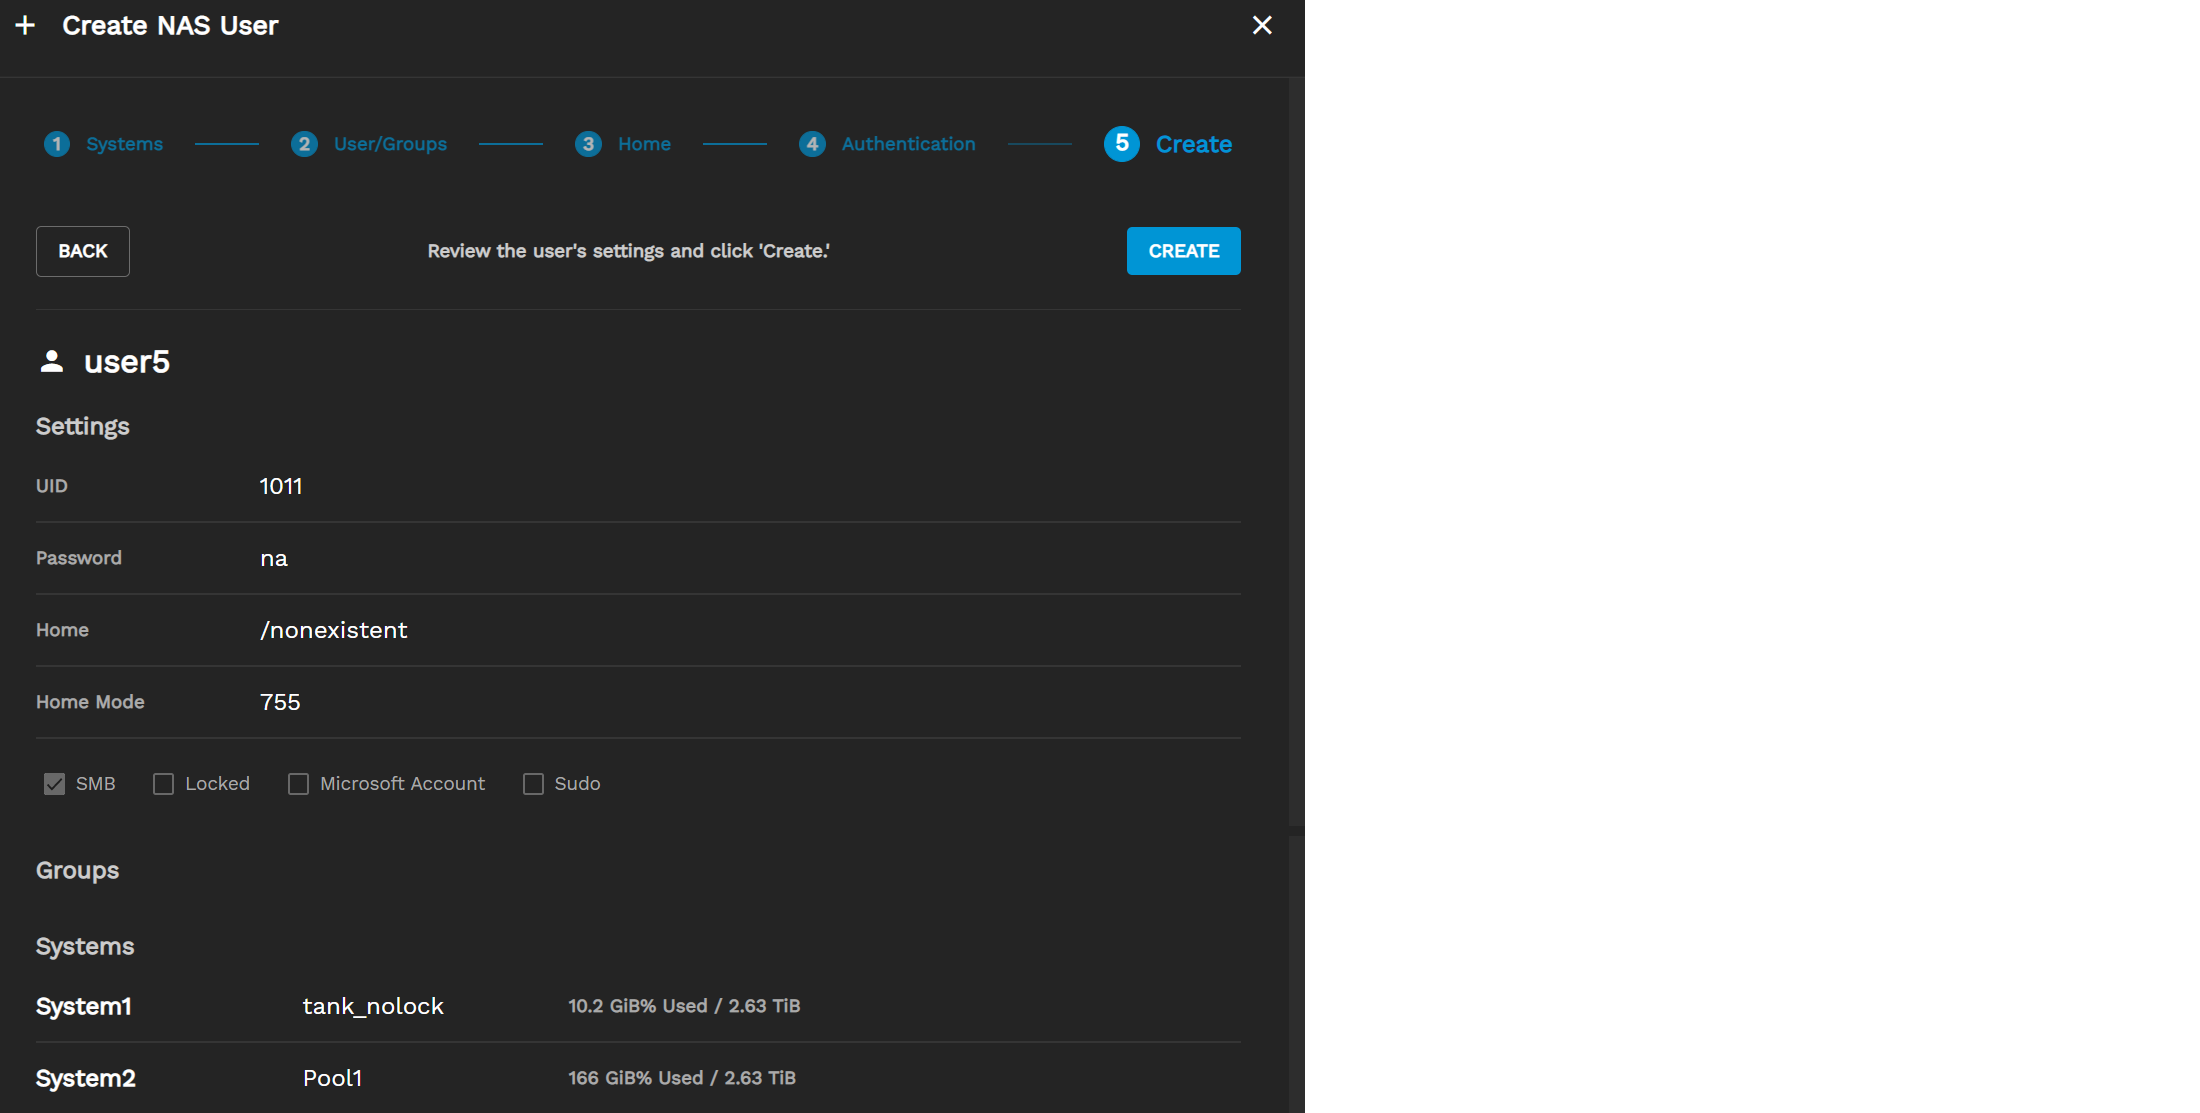
Review the settings. If you are satisfied, click CREATE. You can also click BACK to edit their settings again before finishing.
To manage NAS user accounts, go to your dashboard and click the more_vert in a system’s window, then select Users and Groups.
To edit a user, click the edit in that user’s row.
To delete a single user, click the delete in that user row.
To delete multiple users, check them and click REMOVE.

Go to the dashboard and click the more_vert in a system card and select Users and Groups, then click the USERS drop-down and select GROUPS.

Enter a Gid and a Name, then select Smb and Sudo permissions.

Click SAVE to create the group.
If you want to add groups to other systems, switch to them using the system drop-down.

To manage NAS user accounts, go to your dashboard and click the more_vert in a system’s window, then select Users and Groups.
To edit a group, click the edit in that group’s row.
To delete a single group, click the delete in that group’s row.
To delete multiple groups, check every group you want to delete and click REMOVE.


