Nextcloud

Nextcloud Plugin

The Nextcloud plugin is a suite of client-server software for creating and using file hosting services.

Plugins Catalog

Before getting started...
  • You must have a data pool available for plugin storage.
  • You must connect the system to the internet. Go to Network > Interfaces, edit the intended plugin interface, and set Disable Hardware Offloading.

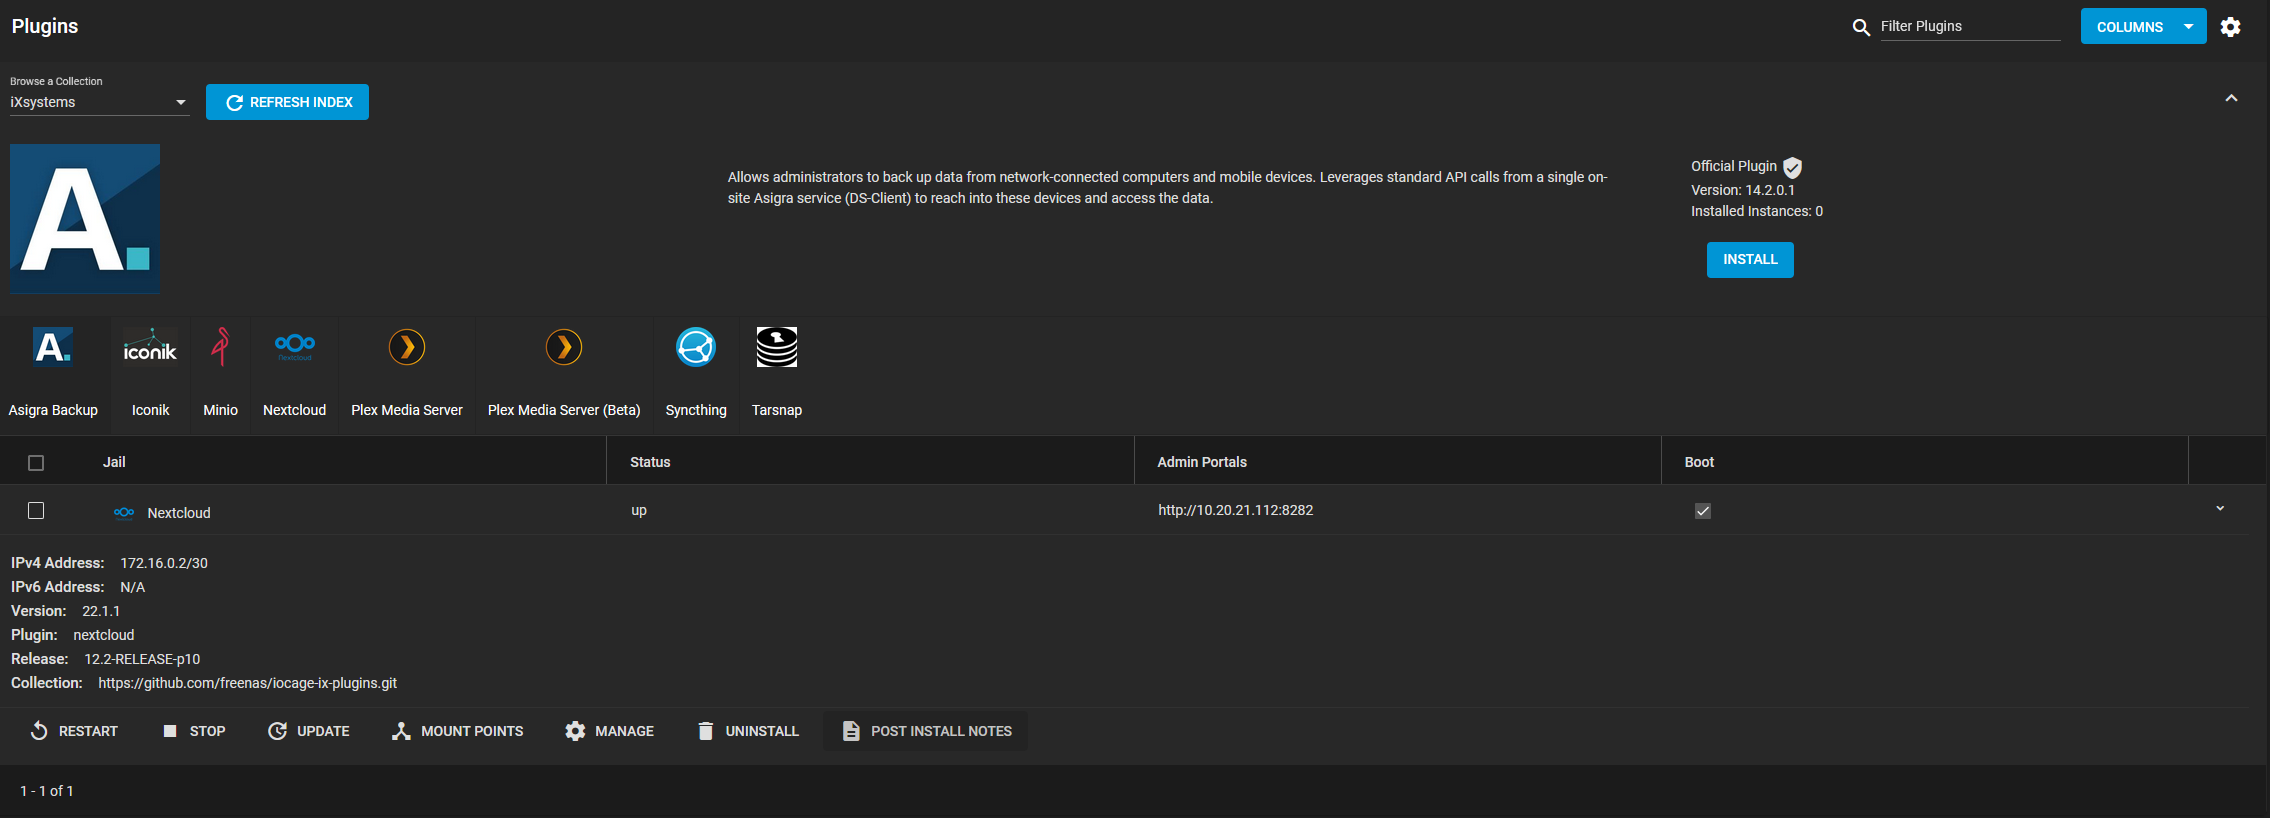
To see the plugin catalog, go to the Plugins screen.

First time in this menu?

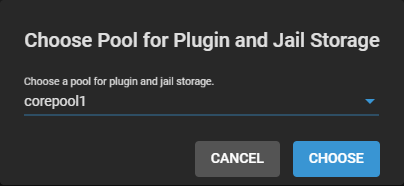
Going to the Jails or Plugins screen for the first time prompts you to select a location on the system for storing Jail related data.

JailsPluginsStorage

By default, this location stores all data related to jails and plugins, including downloaded applications, data managed by the jail or plugin, and any jail snapshots.

  • Disconnecting or deleting the pool that stores jail data can result in permanent data loss!
  • Make sure you back up any critical data or snapshots that are stored in a jail before changing the storage configuration.

To change the Jails and Plugins storage location, click , select a new pool, and click CHOOSE.

PluginsList

I don't see anything!

If the catalog doesn’t load:

  • Go to Network > Global Configuration and confirm the Default Gateway and DNS Servers addresses are correct.
  • Open the Shell and ping an Internet address. The output confirms the system is connected to the Internet.

TrueNAS organizes plugins into two Collections:

  • iXsystems maintained plugins
  • Open source plugins created and maintained by TrueNAS users.

By default, TrueNAS shows the iXsystems-supported plugins. To see the community plugins, open Browse a Collection and select Community.

Installation

Go to Plugins and select Nextcloud, then click INSTALL.

NextcloudInstall

Type a Jail Name and click SAVE.

NextcloudJailName

After Nextcloud installs successfully, you can manage your instance of the plugin.

NextcloudPostInstall

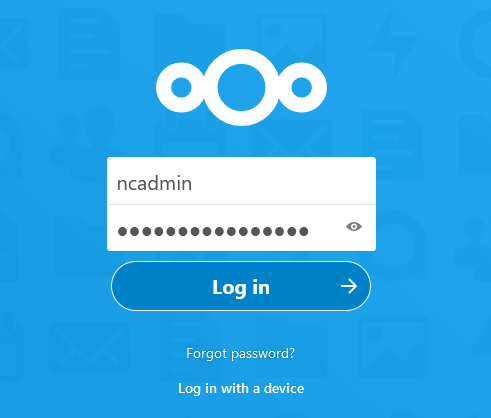
Click POST INSTALL NOTES to obtain your Nextcloud admin user and Nextcloud admin password information. Click MANAGE to access the Nextcloud login page within your browser.

NextcloudLogin

Enter the credentials from POST INSTALL NOTES and click Log in to access the Nextcloud Hub.

NextcloudHub

Go to Plugins and select Nextcloud, then click INSTALL.

NextcloudInstall

Type a Jail Name, then disable the NAT checkbox and enter an available IP in the IPv4 Address field. Select an IPv4 Netmask (iX recommends 24), then click SAVE.

NextcloudStatic1

After Nextcloud installs, you must add your Nextcloud IP to your Nextcloud jail trusted domains.

Go to Jails and expand your Nextcloud jail, then click > SHELL.

Enter ee /usr/local/www/nextcloud/config/config.php to edit your Nextcloud config file.

Scroll to the trusted_domains section and type your Nextcloud IP as a new line item. Use the image below for reference.

NextcloudTrustedDomain

Type CTRL+C to close the editor, then type exit to close the config file.

Go back to Plugins and expand your Nextcloud instance. Click POST INSTALL NOTES to obtain your Nextcloud admin user and Nextcloud admin password information. Click MANAGE to access the Nextcloud login page within your browser.

NextcloudLogin

Enter the credentials from POST INSTALL NOTES and click Log in. You are directed to the Nextcloud Hub.

Refer to the Nextcloud documentation for details about using the Nextcloud platform: