Managing Snapshots
4 minute read.
File Explorer limits the number of snapshots Windows presents to users. If TrueNAS responds with more than the File Explorer limit, File Explorer shows no available snapshots. TrueNAS displays a dialog stating the dataset snapshot count has more snapshots than recommended and states performance or functionality might degrade.
There are two ways to view the list of snapshots:
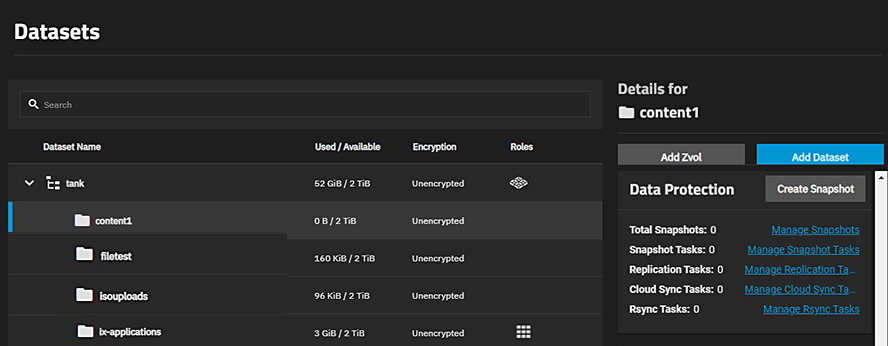
- Go to Datasets > Data Protection widget > Manage Snapshots link to open the Snapshots screen.
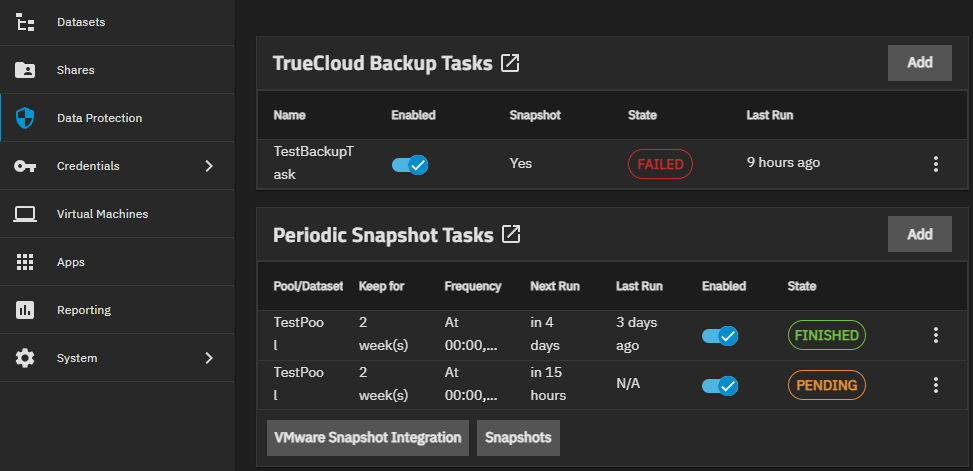
- Go to Data Protection, locate the Periodic Snapshot Tasks widget, then click the Snapshots button in the lower right-hand corner of the widget.
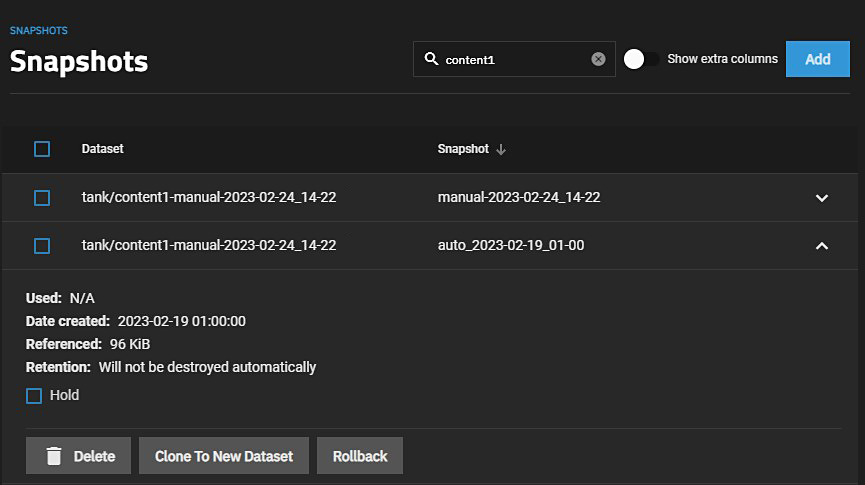
The Snapshots screen displays a list of snapshots on the system. Use the search bar at the top to narrow the selection. Clear the search bar to list all snapshots.
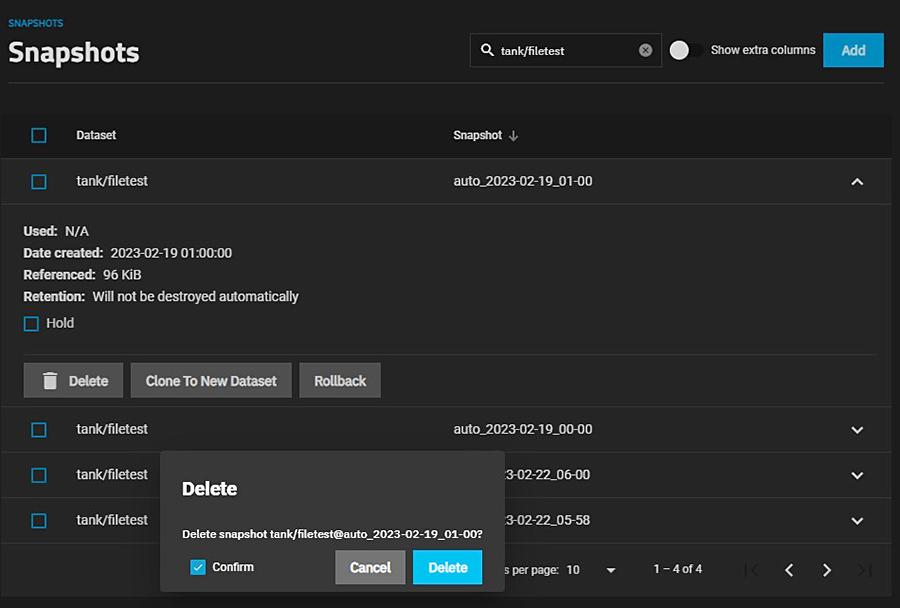
Click to view snapshot options.
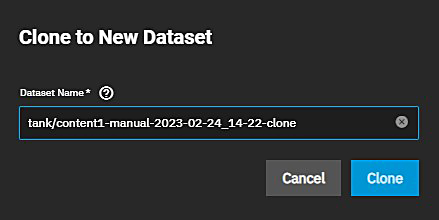
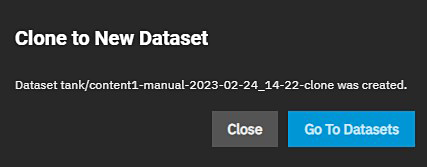
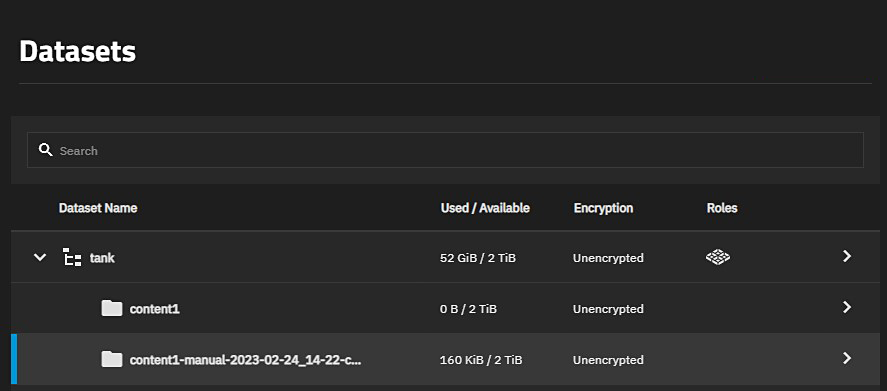
Use the Clone to New Dataset button to create a clone of the snapshot. The clone appears directly beneath the parent dataset in the dataset tree table on the Datasets screen. Click Clone to New Dataset to open a clone confirmation dialog.
Click Clone to confirm.
The Go to Datasets button opens the Datasets screen.
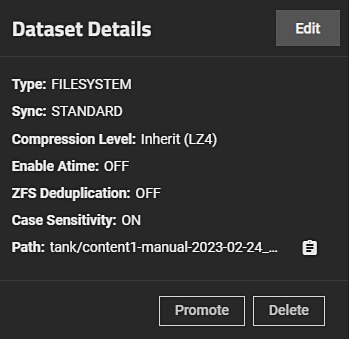
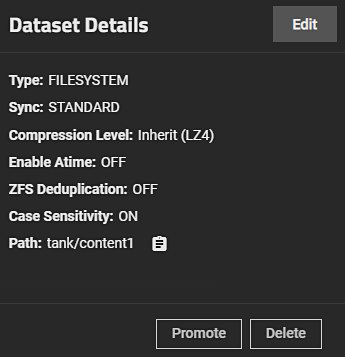
Click on the clone name in the dataset listing to populate the Dataset Details widget and display the Promote button.
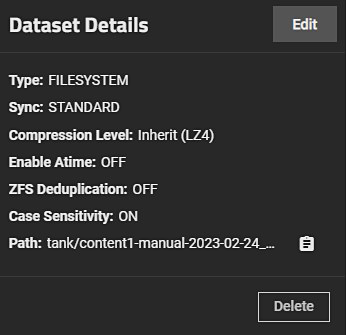
After clicking the Promote button, the dataset clone is promoted and this button no longer appears.
Promote now displays on the Dataset Details widget when you select the demoted parent dataset.
See zfs-promote.8 for more information.
The Delete option destroys the snapshot. You must delete child clones before you can delete their parent snapshot. While creating a snapshot is instantaneous, deleting one is I/O intensive and can take a long time, especially when deduplication is enabled.
Click the Delete button. A confirmation dialog displays. Select Confirm to activate the Delete button.
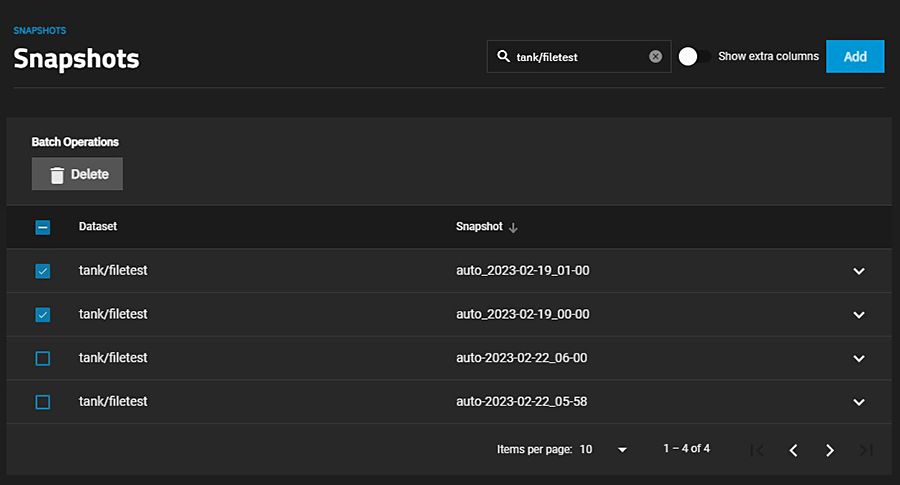
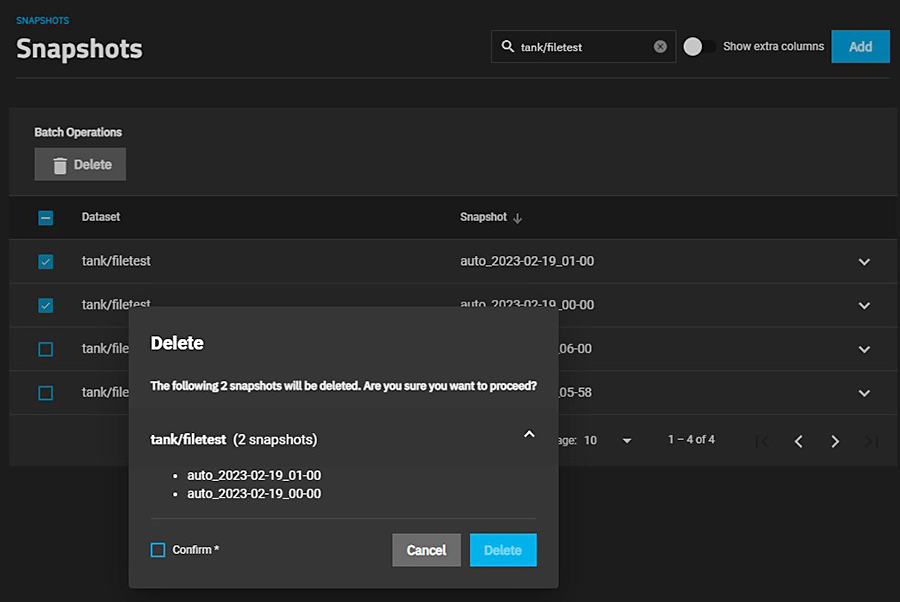
To delete multiple snapshots, select the left column box for each snapshot to include. Click the delete Delete button that displays.
To search through the snapshots list by name, type a matching criteria into the search Filter Snapshots text field. The list now displays only the snapshot names that match the filter text.
Confirm activates the Delete button. If the snapshot has the Hold options selected, an error displays to prevent you from deleting that snapshot.
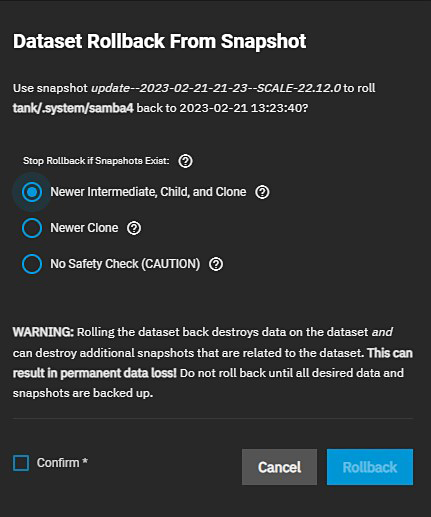
The Rollback option reverts the dataset to the point in time saved by the snapshot.
Rollback is a dangerous operation that causes any configured replication tasks to fail. Replications use the existing snapshot when doing an incremental backup, and rolling back can put the snapshots out of order.
A less disruptive method to restore data from a point in time is to clone a specific snapshot as a new dataset:
- Clone the desired snapshot.
- Share the clone with the share type or service running on the TrueNAS system.
- Allow users to recover their needed data.
- Delete the clone from Datasets.
This approach does not destroy any on-disk data or disrupt automated replication tasks.
TrueNAS asks for confirmation before rolling back to the chosen snapshot state. Select the radio button for how you want the rollback to operate.
Click Confirm to activate the Rollback button.
All dataset snapshots are accessible as an ordinary hierarchical file system, accessed from a hidden
A snapshot and any files it contains are not accessible or searchable if the snapshot mount path is longer than 88 characters. The data within the snapshot is safe but to make the snapshot accessible again shorten the mount path.
Users can browse and search any files they have permission to access throughout the entire dataset snapshot collection.
When creating a snapshot, permissions or ACLs set on files within that snapshot might limit access to the files. Snapshots are read-only, so users do not have permission to modify a snapshot or its files, even if they had write permissions when creating the snapshot.
From the Datasets screen, select the dataset and click Edit on the Dataset Details widget. Click Advanced Options and set Snapshot Directory to Visible.
To access snapshots using a share, configure the client system to view hidden files.
For example, in a Windows SMB share, enable Show hidden files, folders, and drives in Folder Options.
From to the dataset root folder, open the


