Third-Party Data Migration
7 minute read.
Users of TrueNAS 24.04 (Dragonfish) or newer can migrate data from a third-party NAS solution onto TrueNAS using the Syncthing Enterprise application. The Syncthing Enterprise application can mount remote SMB shares in a manner that preserves relevant metadata. TrueNAS 24.10 (Electric Eel) also adds migration support for SMB alternate data streams (ADS), used to store application-specific metadata.
TrueNAS Enterprise
Third-party data ingest is available to TrueNAS Enterprise customers with TrueNAS 24.04 (Dragonfish) and newer deployed, as well as the appropriate applications license. TrueNAS Enterprise Support staff are available to assist with deploying the Syncthing Enterprise Application and migrating data. Please contact TrueNAS Enterprise Support to learn more and schedule a time to deploy the app and begin migration.
Data migration from a third-party NAS requires advanced configuration of both the remote source and TrueNAS target.
Ensure the source NAS supports the SMB protocol version 3 or newer. Older versions of the SMB protocol are not supported.
Plan for one-way migration of data from the source to the TrueNAS target. Remote shares must be mounted read-only. Read-write configuration or bidirectional synchronization is not supported.
Configure both source and target systems with directory services and synchronize accounts.
All accounts referenced in NFSv4 ACLs and Windows Security Descriptors must be available on the TrueNAS server.
The remote NAS must not have any security information that references local NAS accounts rather than domain accounts. Remove ACL entries that reference local accounts or non-domain users and groups before migration.
Mounting a remote NAS for data ingest purposes without a common identity source and agreement in place for handling local accounts is an unsupported configuration.
The process of setting up data migration from an external NAS to TrueNAS consists of:
- Installing two instances of the Syncthing Enterprise app, configuring the first instance to ingest data from the external source and the second instance to write data to a local dataset on the target system.
- Creating the target dataset for the data ingest on TrueNAS.
- Configuring a Syncthing marker folder on the remote source.
- Connecting the two Syncthing instances and initiating data sync.
Install the first instance of the Syncthing Enterprise app on TrueNAS.
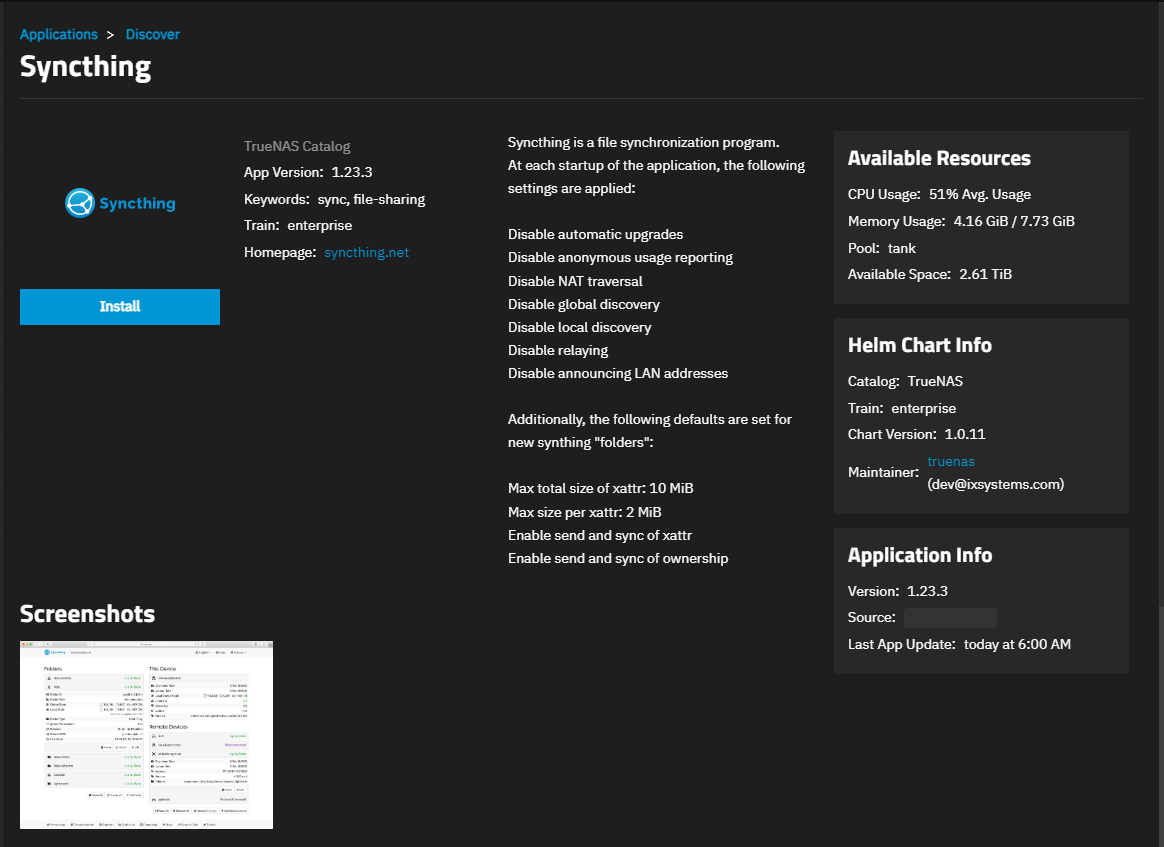
a. Go to Apps > Discover Apps, locate the Syncthing enterprise app widget.
Ensure the widget reflects the Enterprise train version of the app. If the Enterprise version is not available, add the Enterprise train to the TRUENAS catalog.
Click on the widget to open the Syncthing details screen.
Click Install to open the Install Syncthing screen.
b. To avoid name conflicts, use a unique name to indicate this Syncthing instance is mounting the remote share. For example Syncthing-ingest.
c. Accept the defaults in Version, Syncthing Configuration, and User and Group Configuration.
d. Disable Host Network under Network Configuration. Default ports can be used for this Syncthing instance.
e. Select ixVolume (Dataset created automatically by the system) or configure an existing host path for Syncthing Home Storage under Storage Configuration.
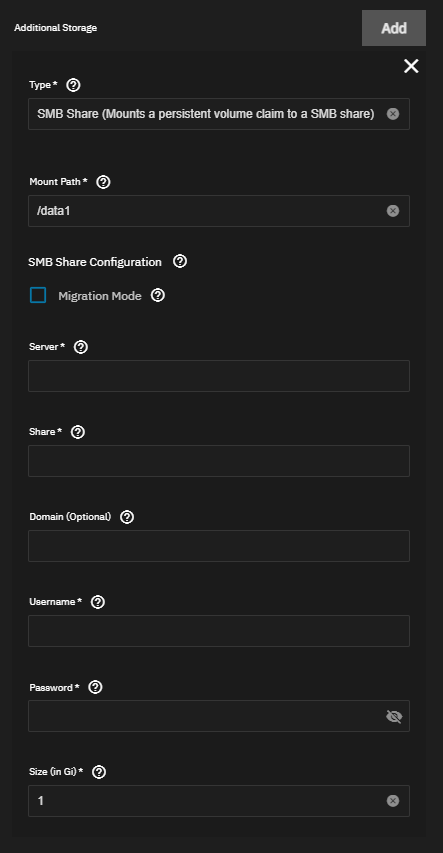
f. Select SMB Share (Mounts a persistent volume claim to an SMB share) from the Type dropdown for Additional Storage.
Select Migration Mode to set additional mount options, which ensure proper transfer of metadata and ensure the remote SMB share is mounted read-only.
Enter the IP address or fully qualified domain name (FQDN) for the remote source in Server.
Enter the share name configured on the remote source in Share.
If needed, enter the domain name for the remote source in Domain (Optional).
Enter the user name and password for the SMB user on the external source.
Enter a Size larger than the SMB share on the remote source, with overhead.
g. Click Install.
Access the Syncthing UI for the first instance and configure it as needed.
a. Delete the Default Folder created by Syncthing during installation.
b. Create GUI credentials for increased security. Go to Settings > GUI and enter a user name and password.
c. Add a new remote SMB folder.
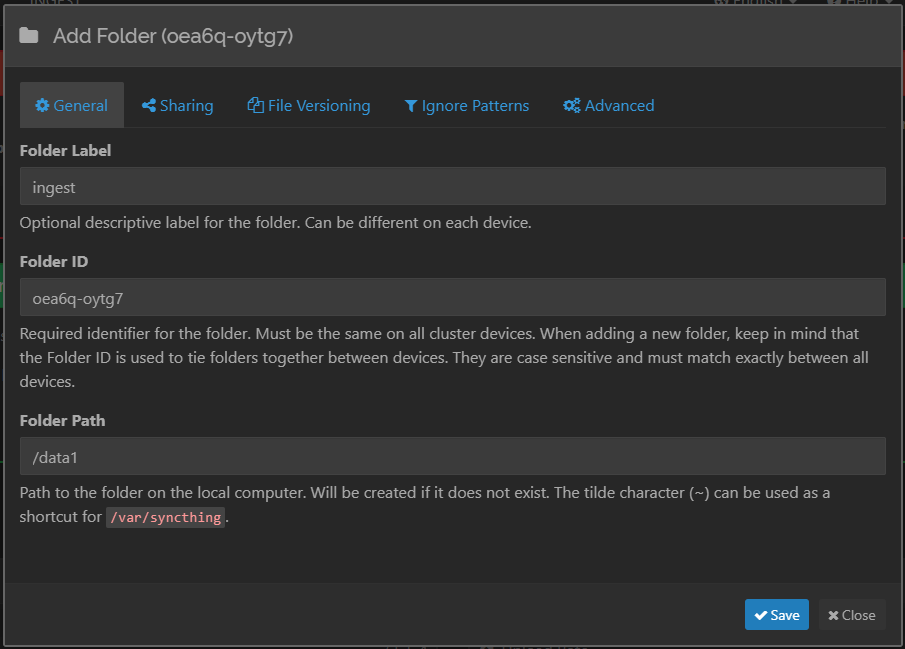
Click Add Folder.
Enter a Folder Label, such as ingest. Enter in Folder Path the mount path configured during app setup, /data1 by default.
Click Save.
d. Configure the device name.
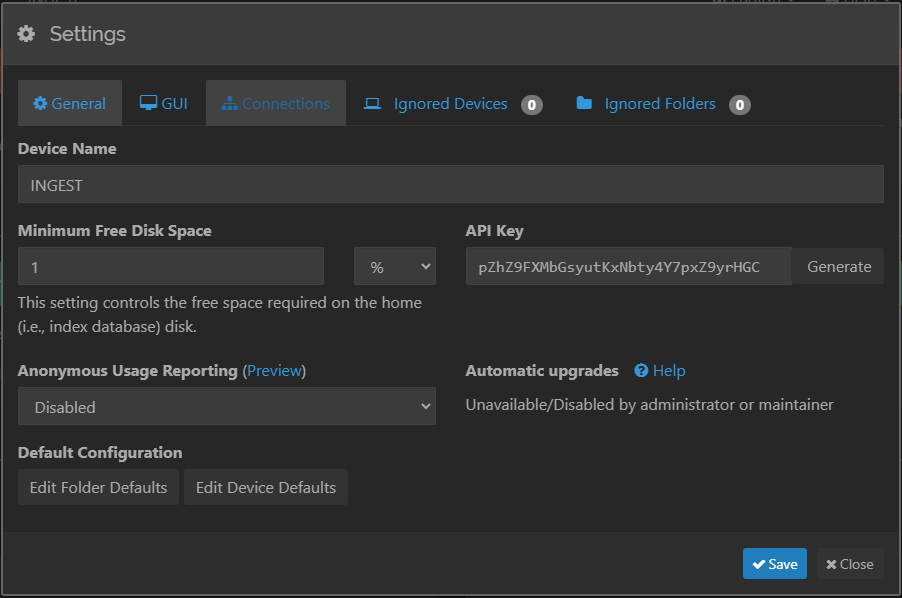
Click Actions in the top toolbar and select Settings.
Enter a clear identifying name, such as INGEST, and click Save.
Create a new dataset on TrueNAS to be the target for the data ingest, for example, /mnt/tank/ingest.
Click Advanced Options and set ACL Type to SMB/NFSv4. Set ACL Mode to Restricted.
Install the second instance of the Syncthing Enterprise app on TrueNAS.
a. Go to Apps > Discover Apps, locate the Syncthing enterprise app widget. Ensure the widget reflects the Enterprise train version of the app.
b. To avoid name conflicts, use a unique name to indicate this Syncthing instance is writing to a local dataset. For example Syncthing-migrate.
c. Accept the defaults in Version, Syncthing Configuration, and User and Group Configuration.
d. Disable Host Network under Network Configuration. Use non-default ports for this Syncthing instance that differ from the configured ports on the first instance.
e. Select ixVolume (Dataset created automatically by the system) or configure an existing host path for Syncthing Home Storage under Storage Configuration.
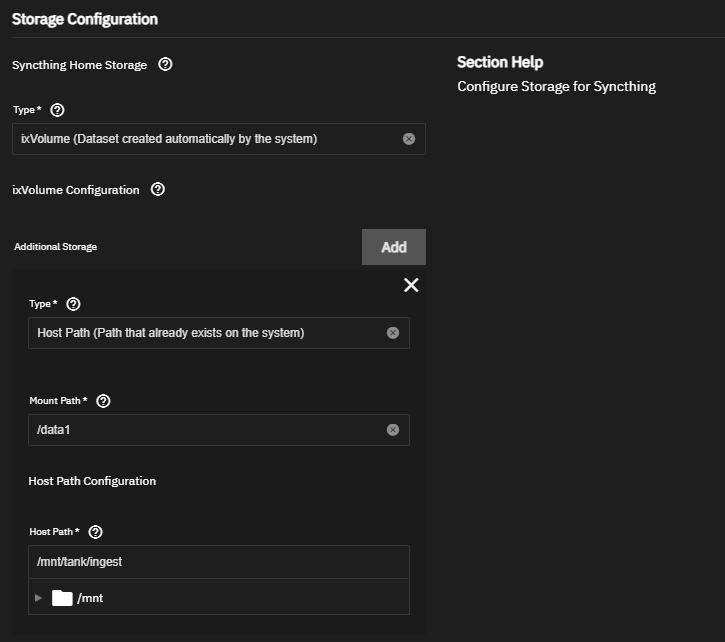
f. Select Host Path (Path that already exists on the system) from the Type dropdown for Additional Storage. Enter or browse to select the Host Path for the target dataset created in step 3.
g. Click Install.
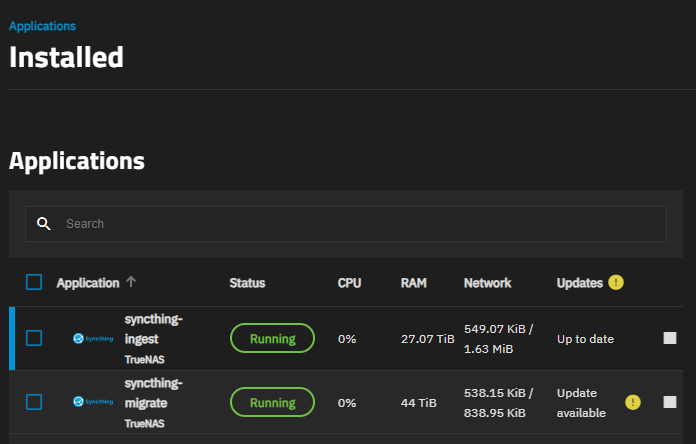
The Installed Applications screen displays both Syncthing instances.
Access the Syncthing UI for the second instance and configure it as needed.
a. Delete the Default Folder created by Syncthing during installation.
b. Create GUI credentials for increased security. Go to Settings > GUI and enter a user name and password.
c. Configure the device name.
Click Actions in the top toolbar and select Settings.
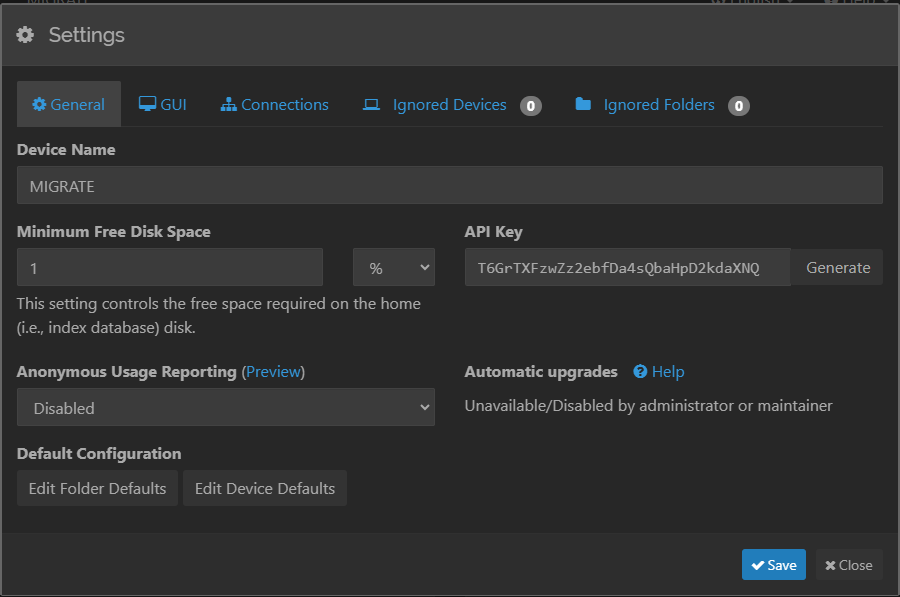
Enter a clear identifying name, such as MIGRATE, and click Save
Configure a Syncthing marker folder on the remote source.
By default, Syncthing places a hidden folder, called .stfolder, on the root of each share. This folder allows Syncthing to confirm that the volume is properly mounted. Syncthing cannot sync without a marker folder. As the remote SMB share is mounted read-only, Syncthing is not be able to create this marker folder.
There are two ways to manually configure a marker folder:
Manually create a hidden folder named .stfolder at the root level of the remote share. Access the root directory of the remote source from a client that has read-write access to create the folder.
or
Access the Syncthing UI for the ingest instance. Click Actions in the top toolbar and select Advanced to open the Advanced Configuration screen. Select the ingest folder and change Marker Name from .stfolder to another folder or file that is present on the remote source.
See How do I serve a folder from a read-only filesystem? from Syncthing for more information.
Connect the two Syncthing instances.
a. Copy the device ID from the first Syncthing instance UI. Click Actions in the top toolbar and select Show ID to open the Device Identification screen. Click Copy.
b. Add a remote device on the UI of the second Syncthing instance. Click Add Remote Device and paste in the device ID copied from the first instance.
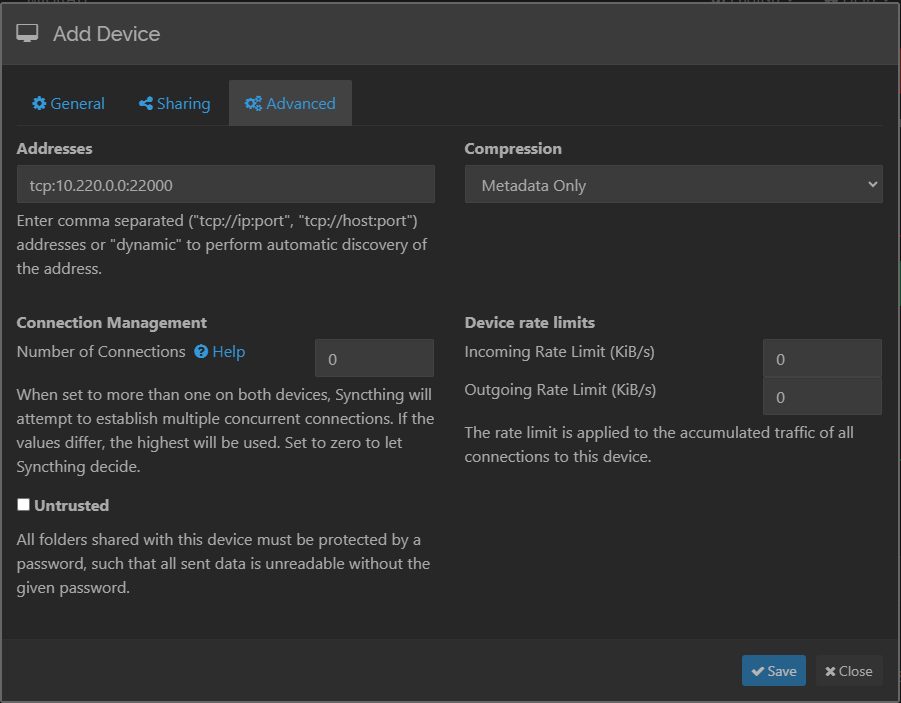
Click Advanced. Enter the device address and port for the first Syncthing instance, in the format
tcp://ip:port.Click Save.
c. Repeat steps a and b in the opposite direction to add a remote device to the first Syncthing instance using the device ID, IP address, and port of the second instance.
Initiate migration.
Access the Syncthing UI for the first instance.
Click Edit on the remote SMB folder created during step 2.
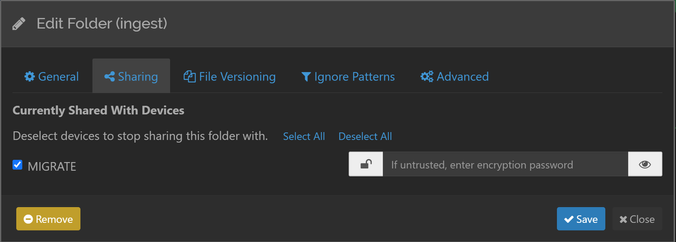
Click Sharing and select the migrate instance. Click Save.
Syncthing begins syncing data from the remote source to the ingest dataset on TrueNAS.


