Logging In for the First Time
20 minute read.
Now that you have installed TrueNAS, or migrated from an earlier version, you can log into the web user interface (UI) to complete your initial system configuration and begin managing data!
Use only the web user interface (UI) to make configuration changes to the system. By default, using the LINUX shell command-line interface (CLI) to modify the system does not modify the settings database. After a system restart, changes made in the CLI revert to the original database settings, wiping away any user-made command line changes.
TrueNAS automatically creates several ways to access the UI, but you might need to adjust the default settings for your network environment.
By default, a fresh install of TrueNAS provides a default address for logging in to the web interface. To view the web interface IP address or reconfigure web interface access, either connect a monitor and keyboard to your TrueNAS system or connect with IPMI for out-of-band system management.
When powering on a TrueNAS system, the system attempts to connect to a DHCP server from all live interfaces to access the web UI. On networks that support Multicast Domain Name Services (mDNS), the system can use a host name and domain to access the TrueNAS web interface. By default, TrueNAS uses the host name and domain truenas.local. To change the host name and domain in the web interface, go to Network and click Settings on the Global Configuration widget.
To access the web interface using an IP address, either use the DHCP-assigned IP address displayed at the top of the Console Setup menu after installing TrueNAS or use the static IP address you assigned using the Console Setup menu.
TrueNAS Enterprise
TrueNAS Enterprise (HA) systems have specific network configuration requirements. Installing TrueNAS on High Availability (HA) systems and configuring networking is complicated and should be guided by Enterprise-level support. Contact TrueNAS Enterprise Support for assistance whenever attempting to install TrueNAS on Enterprise HA hardware or configure network settings.
Refer to the Preparing for TrueNAS UI Configuration (Enterprise) and Installing TrueNAS Enterprise (HA) for information on installing HA system and configuring networking.
Use a computer with access to the same network as the TrueNAS system. Enter the host name and domain or IP address assigned to the primary network interface in a web browser to connect to the TrueNAS web interface.
The browser used to access the TrueNAS UI can impact the quality of your user experience. We generally recommend using Firefox, Edge, or Chrome.
Root account logins are deprecated in TrueNAS Bluefin 22.12.0 or newer for security hardening and to comply with Federal Information Processing Standards (FIPS). All TrueNAS users should create an administrator account with all required permissions and begin using it to access TrueNAS. When the root user password is disabled, only an administrative user account can log in to the TrueNAS web interface.
TrueNAS plans to permanently disable root account access in a future release.
The default TrueNAS administrator account name changes from admin to truenas_admin in TrueNAS 24.10 (Electric Eel) fresh installations. Earlier releases of TrueNAS with the admin account retain this account when upgrading to 24.10 through the UI.
To improve security and minimize username discoverability, create one or more administrator accounts with unique usernames and passwords and disable password access for default administrator accounts (root, admin, or truenas_admin). Configure appropriate administrative privileges for each admin account. Follow the principle of least privilege (PoLP) and assign the lowest permissions required to perform the administrative tasks expected for that user. If a task requires SSH login or sudo command permission, temporarily enable these settings then disable when the task is complete. See Security Recommendations and Allowing Sudo Commands for more information.
After adding the admin user account and group privileges, login to confirm UI access then disable the root and/or default administrator user password(s). Go to Credentials > Users, click on the user, and select Edit. Click the Disable Password toggle to disable the password, then click Save.
With the implementation of administrator accounts, the root user is no longer the default administrator username.
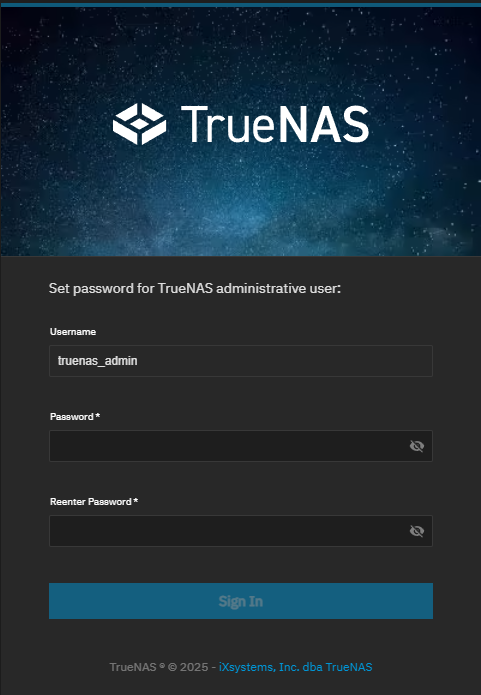
Based on the method used to install TrueNAS, you can be presented with different first-time login scenarios, each described below.
After setting up the truenas_admin user from one of the scenarios documented above, enter truenas_admin and the password to log in.
To modify user credentials, go to Credentials > Users, click anywhere on the user row, then click Edit. For more information, see Managing Users.
If logging in with the root user credentials, enter root as the user and the root password.
After logging in with the root user credentials, you must immediately create the admin user account and then disable the root user password to comply with FIPS security hardening standards.
The root user still exists but with the password disabled by default. This means only an administrative user can log into the system.
You can activate the password for the root user for some limited uses, but you should return to a security-hardened operation by disabling the root password immediately after you finish with the limited use.
Follow the directions in Managing Users to create an administration user with all required settings. For environments requiring specific configurations, such as non-AD environments or those using LDAP, ensure that your admin user is properly set up to manage all aspects of the system.
If you selected the installation option 2. Configure using Web UI, the sign-in screen shows two authentication methods. One allows you to log in as root or you can create the administration account.
Select either the Administrative user or Root user (not recommended) option, then enter the password to use with that user.
If you choose Root user (not recommended) as the TrueNAS authentication method, go to the Credentials > Users screen and create the admin account immediately after you enter the UI. Enter the admin user name and password, make sure the password is enabled, and click Save. After setting up the admin user, click on the root user and then click Edit. Disable the root user password and then click Save. This brings the system into compliance with FIPS system security-hardening standards.
If you cannot remember the administrator password to log in to the web interface, connect a keyboard and mouse to the TrueNAS system and open the Console Setup menu to reset the administrator account password.
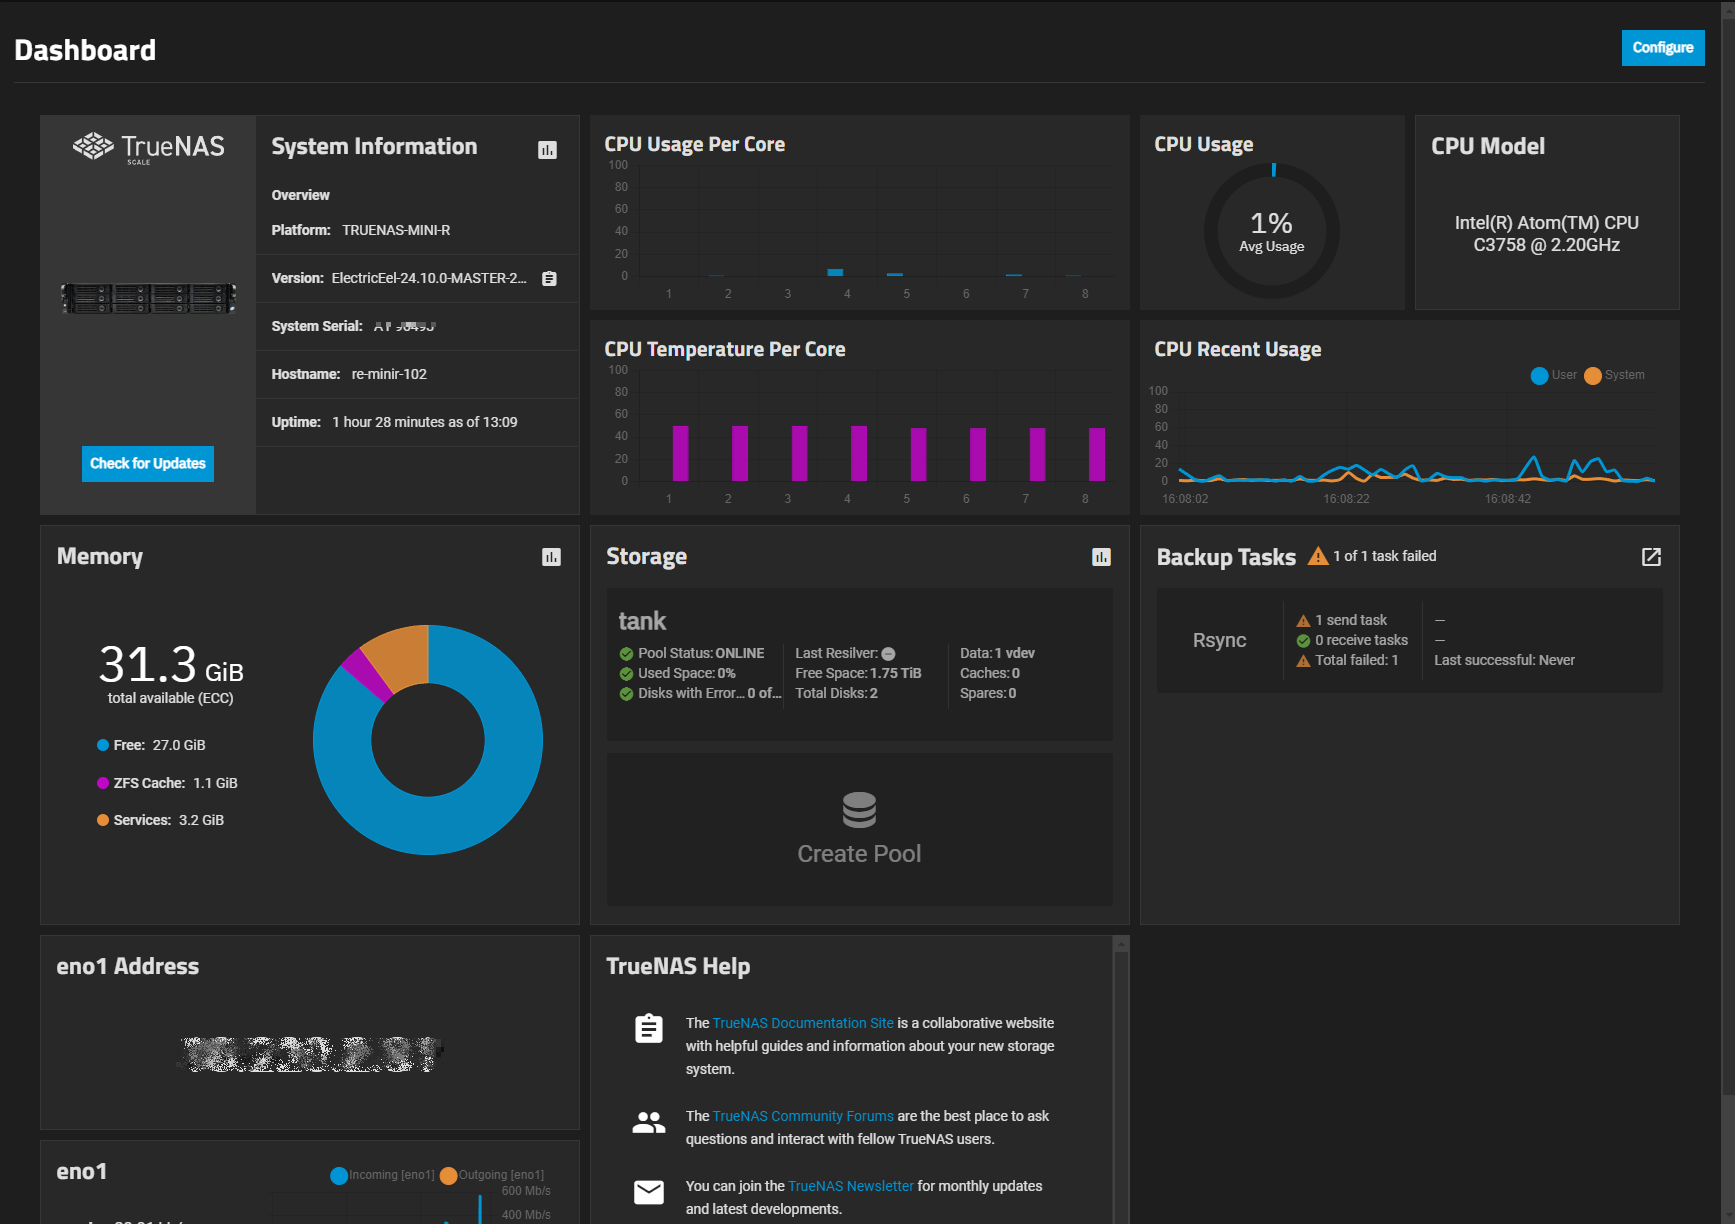
After logging in for the first time, the main system Dashboard screen displays. The Dashboard shows different system information cards (widgets) with basic information about the installed version, systems component usage, network traffic, and configured pools or storage usage. The dashboard includes configurable widgets that include a text-only Custom widget and an Apps widget you can configure to monitor your installed applications.
TrueNAS Enterprise users with an iXsystems-provided server also see an image of the system in the System Information widget. Click on the system image to open the System > View Enclosure screen.
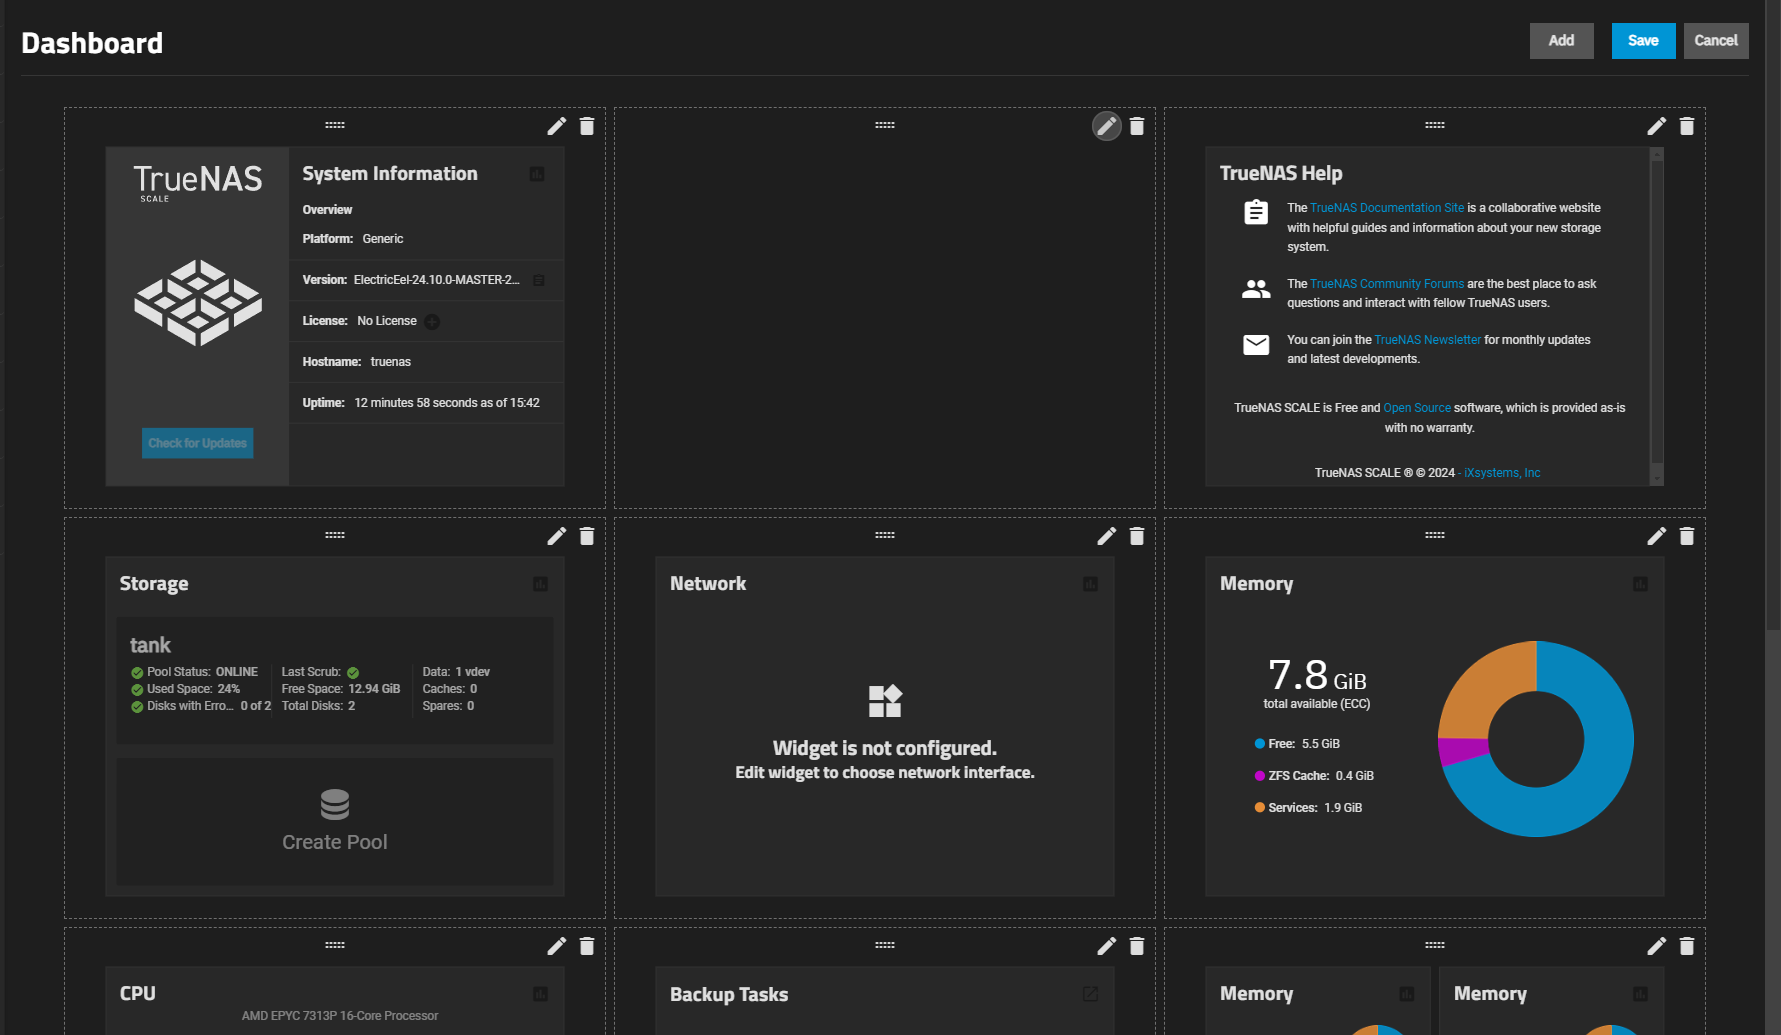
The Dashboard for non-Enterprise systems displays the TrueNAS logo on the System Information widget.
To customize the dashboard , click Configure to put the Dashboard into configuration mode. Use the drag bar to move widget groups to new positions on the screen. Click Add to create new widgets or the Edit option in the widget group to change the look or information included in a widget.
The top row (toolbar) has links to outside resources and buttons to control the system. The left-hand panel lists the main feature and functional areas and lets users navigate to the various TrueNAS configuration screens.
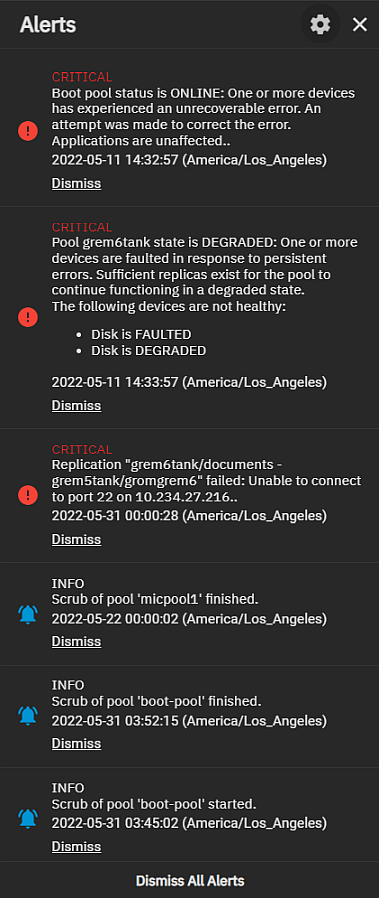
The TrueNAS top navigation top toolbar provides access to functional areas of the UI that you might want to directly access while on other screens in the UI. Icon buttons provide quick access to dropdown lists of options, dropdown panels with information on system alerts or tasks, and can include access to other information or configuration screens. It also shows the name of the user currently logged into the system to the left of the Settings icon.
You can also collapse or expand the main function menu on the left side of the screen.
To monitor and manage all active sessions, go to System > Advanced Settings and locate the Access widget.
With access to the TrueNAS web interface and all the management options, you can begin configuring your system!


